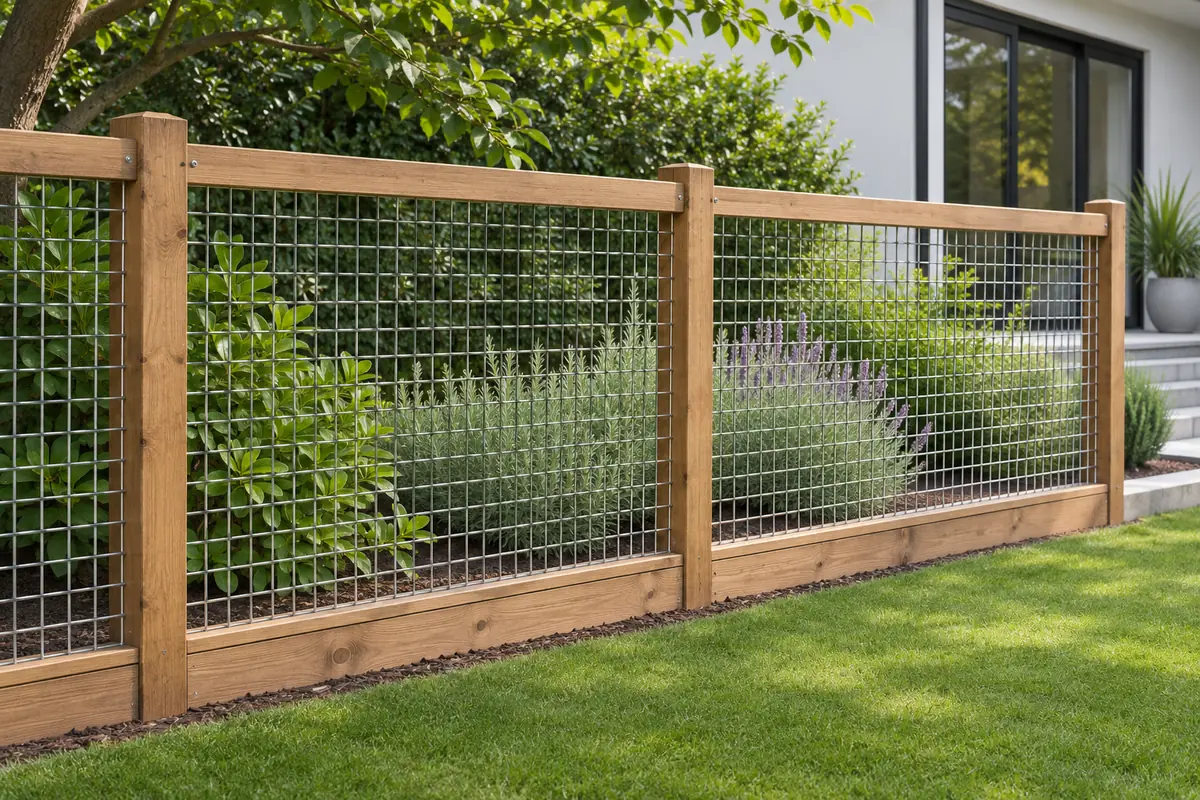
A wood fence with wire mesh uses timber posts and rails to hold a metal grid across each opening. For a garden boundary, choose between a continuous roll and individually framed panels, then measure the actual bays. The fence works as a system of mesh, timber and fixings, with corners, slopes and gates requiring their own details.
Choose a roll or individual panels for the wood frame
For a long, straight run, a roll can reduce the number of vertical seams. It needs sound end and corner posts, and the mesh must be drawn up in the manner intended for that construction. Framed panels give each bay a clean edge and let a damaged section be replaced independently. That can be useful beside a driveway or wherever the fence changes level.
| Layout | Where it fits | Detail to settle before ordering |
|---|---|---|
| Continuous mesh on wood posts | Long garden or field-edge run with few transitions | Termination and bracing at the ends, plus attachment to intermediate posts |
| Rigid welded insert in a timber frame | Repeated short bays, visible garden boundaries and gates | Finished panel dimensions, clear opening in the frame and edge capture |
| Prefabricated metal-framed boundary | Public landscaping or a project buying complete bays and posts | Supply scope, anchors, gate hardware and who checks the supports |
A broad rectangular livestock panel, a fine square welded screen and hexagonal poultry netting behave differently around a gate. For a tidy, durable garden build with regular openings, welded mesh is a useful starting point. Compare wire mesh sizes by clear opening and actual wire diameter. Ask how the seller defines a nominal opening before using it to screen out a particular animal.
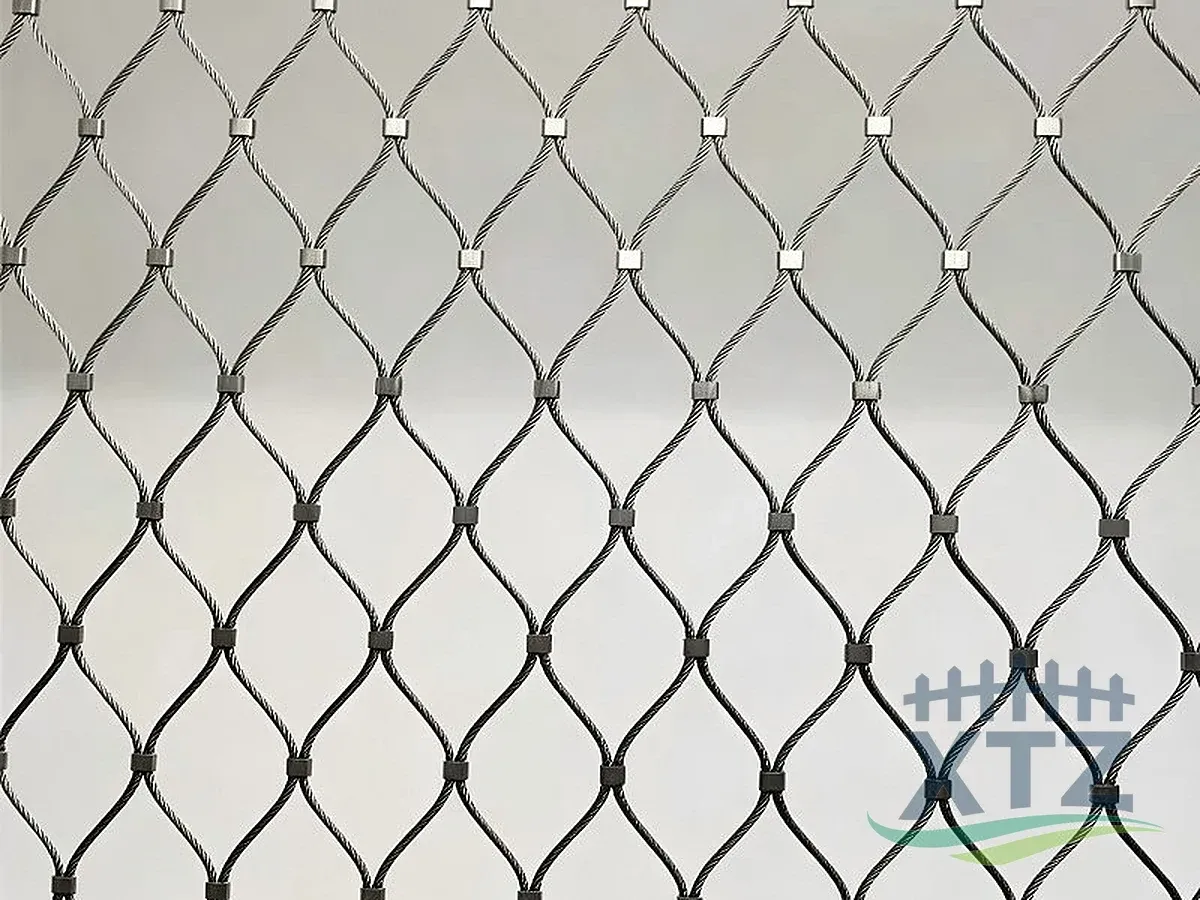
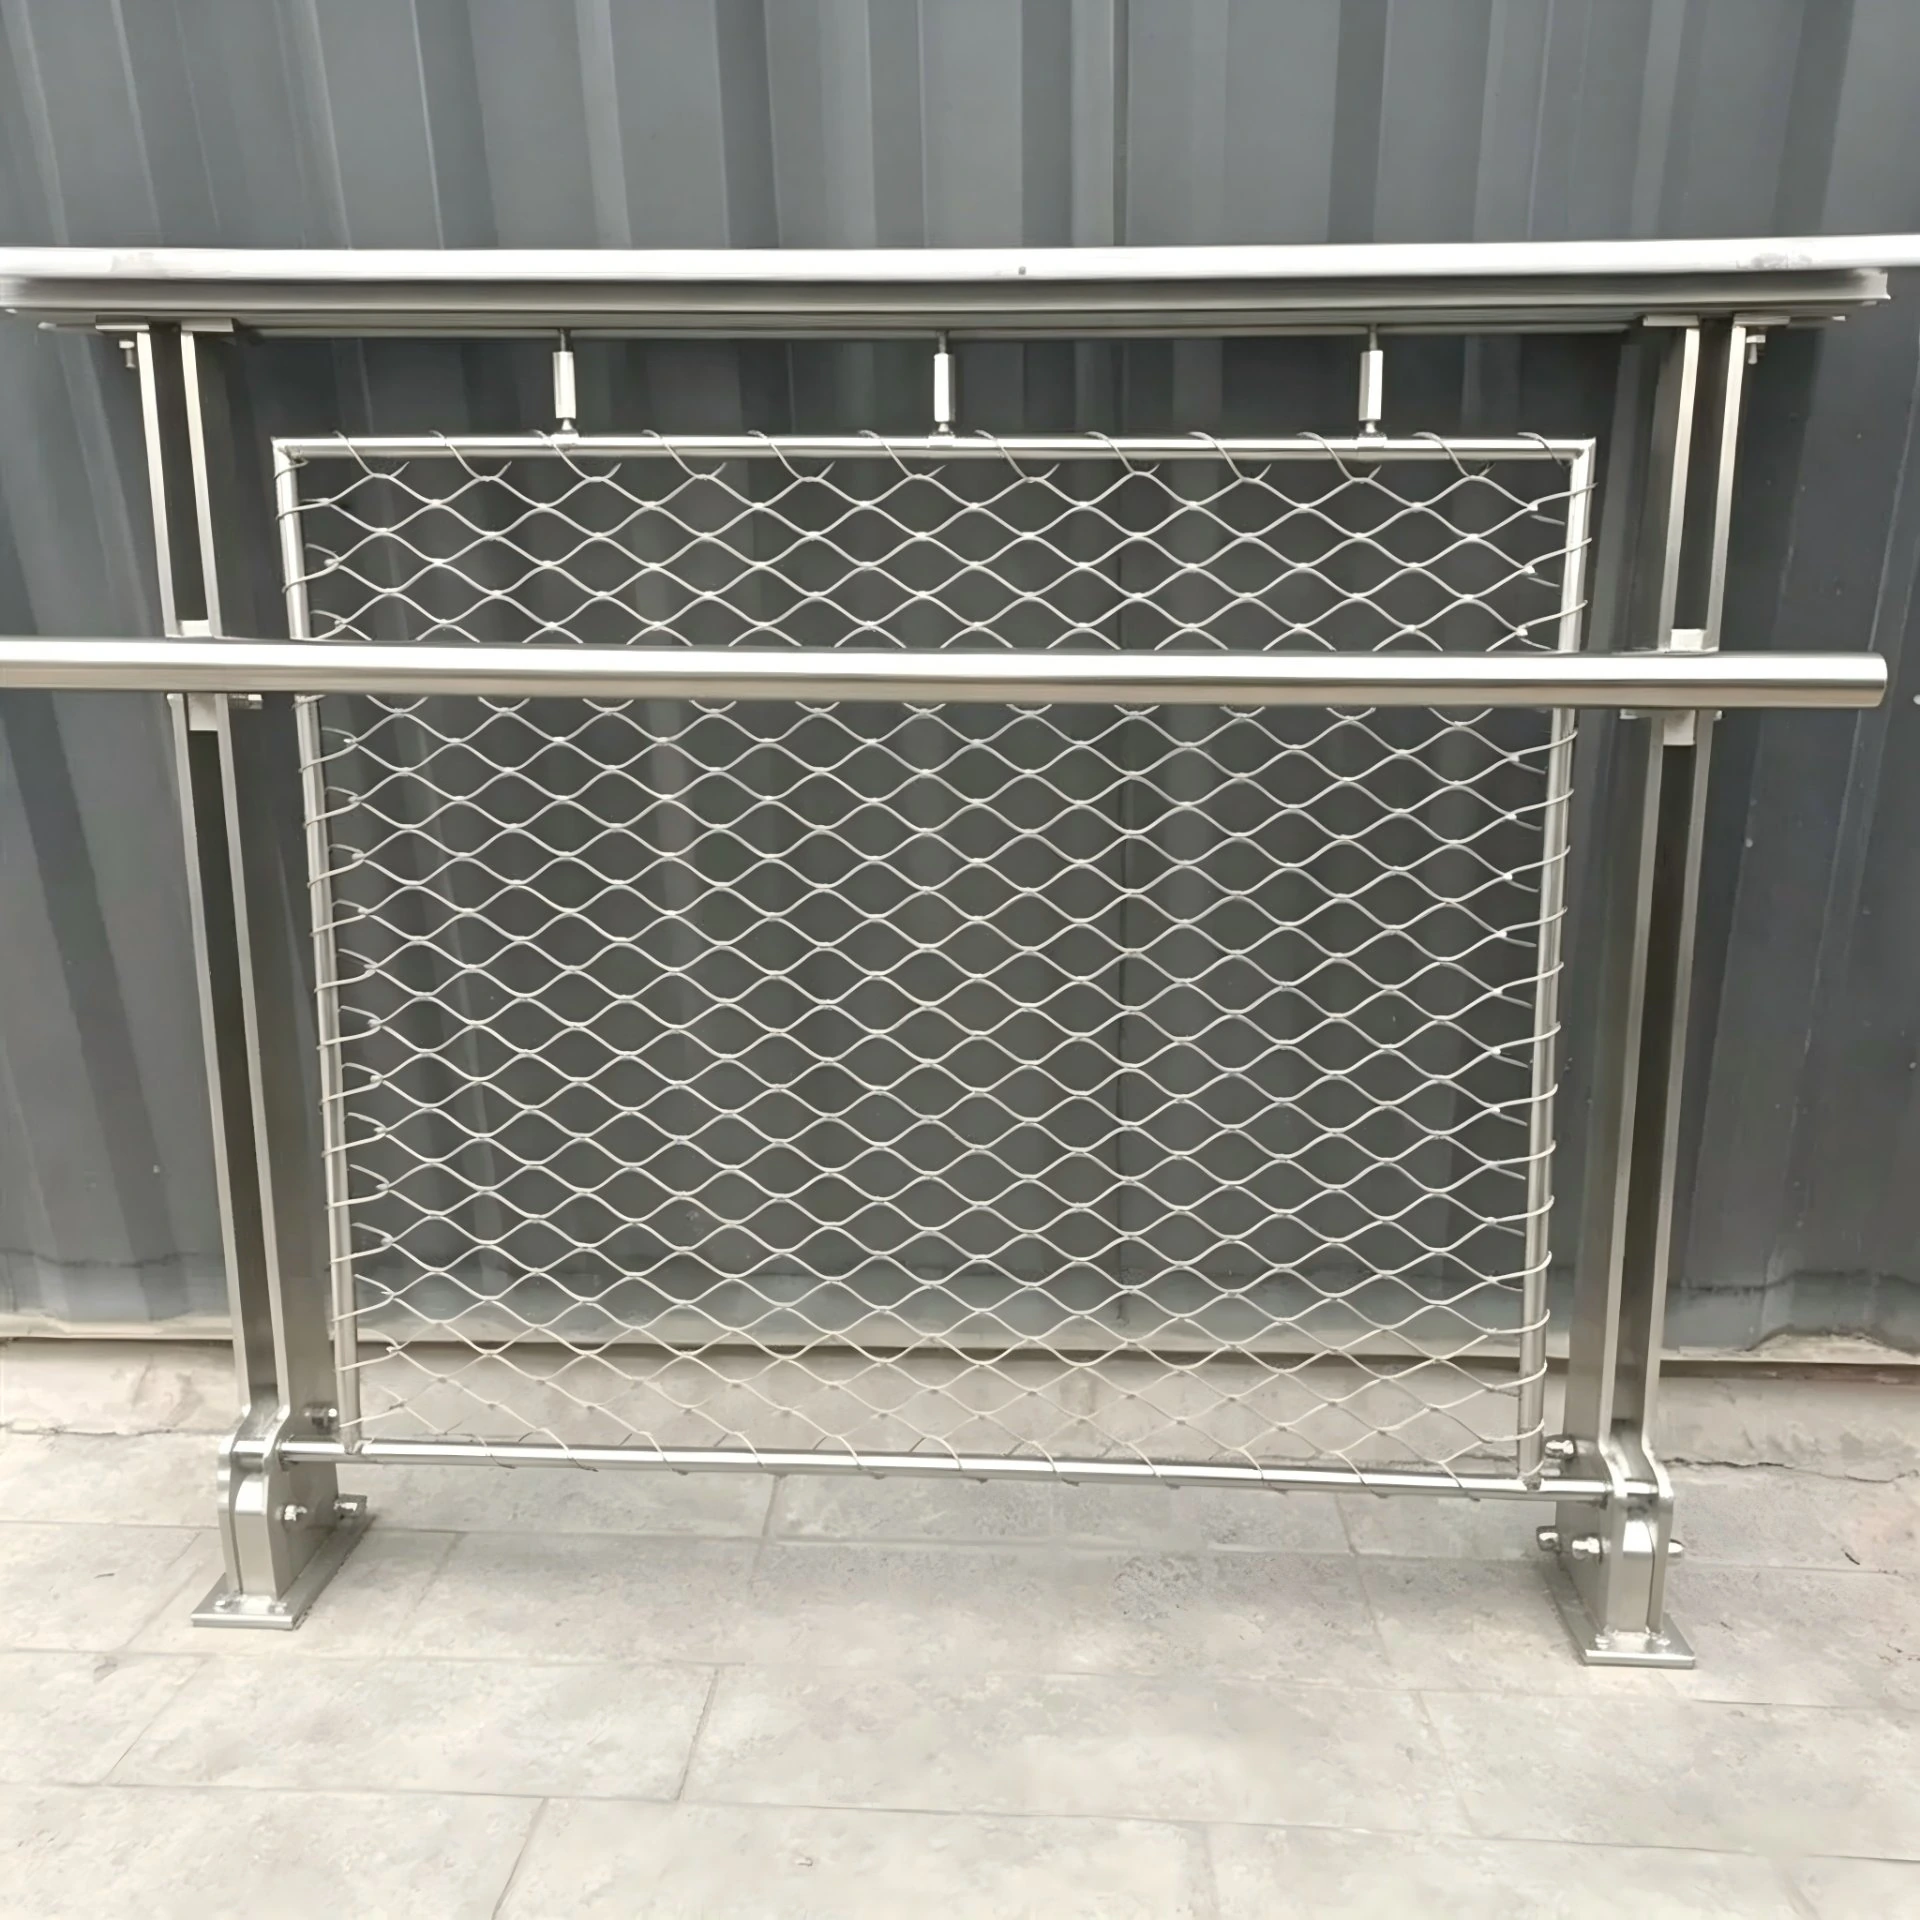
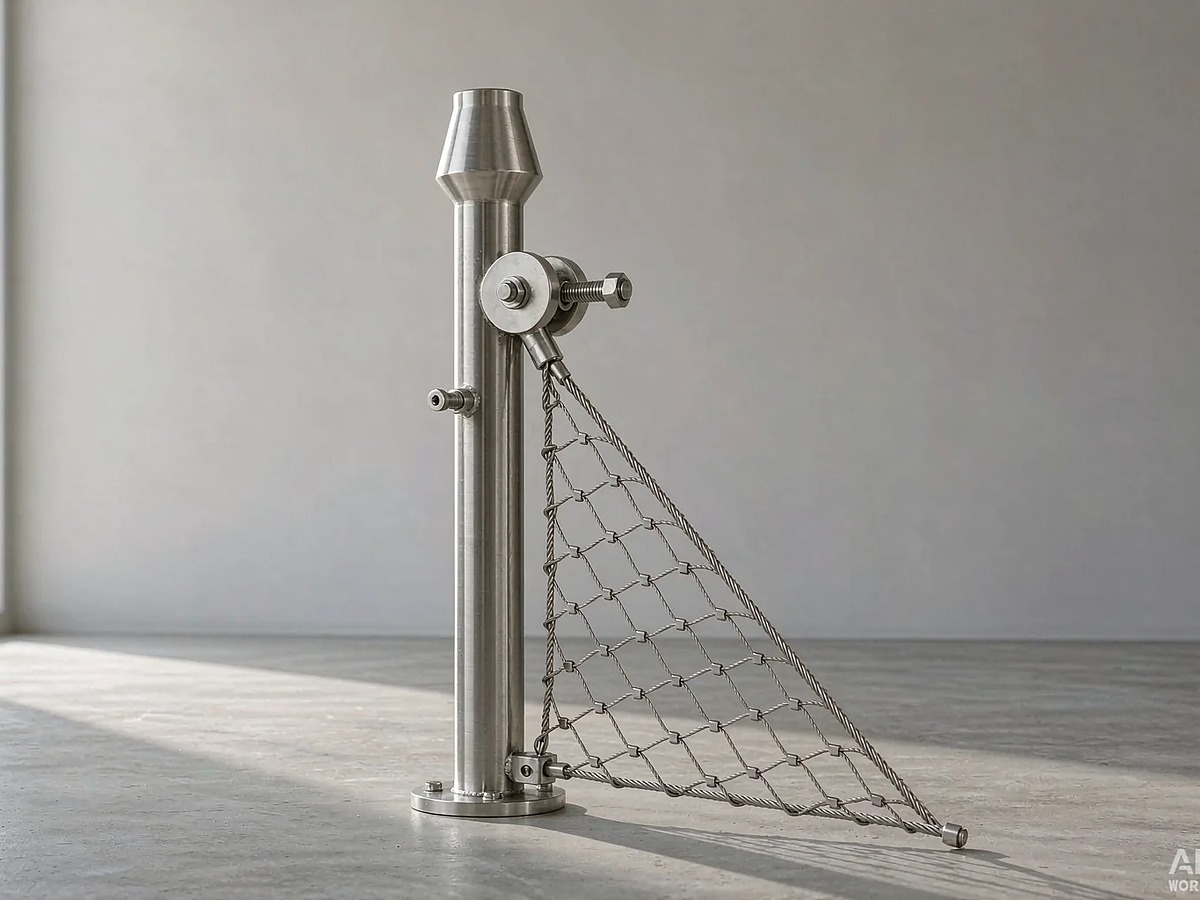
For a complete metal panel option, look at the support and fixing details of a stainless steel mesh fence. A flexible stainless steel cable mesh infill belongs in a frame and attachment arrangement designed for the net. For larger landscaped boundaries, XTZ Fence’s framed stainless steel rope mesh fence is another assembly to compare alongside rigid bays. Show what supports it when you request the quote.
Lay out posts and measure the finished bays
For a new fence, mark the run, returns and gate swing first. Check the boundary, site restrictions and buried services before digging. In the United States, consult the local 811 service before breaking ground. Confirm post and footing details with the fence system or project designer, especially in soft soil, frost or exposed conditions.[1]
An existing post-and-rail fence deserves its own inspection. Push on the posts, check the timber around the ground line and look for splitting where new screws would go. Repair loose posts and unsound rails before relying on them to hold mesh. Start a bay schedule after the support positions are known.
- Label every opening and measure its width at the top, middle and bottom. For a rigid insert, check diagonals if the opening looks out of square.
- Measure left and right heights and note which face receives the mesh. A bay with a two-inch height difference can require a different outline from its neighbor.
- Sketch the rebate, batten or separate frame. Dimension the visible opening and the mesh cut size independently. Allow for the edge engagement and fitting clearance called for by the detail.
- Identify gates, returns and slope changes as separate items. Include the top and bottom reference lines and mark handed pieces.
Worked example. A rectangular timber aperture measures 48 × 30 in (about 1,219 × 762 mm). The drawing calls for a flat mount that captures ½ in (12.7 mm) of mesh beyond the aperture on all four sides. The resulting nominal mesh blank is 49 × 31 in (about 1,245 × 787 mm), before the fabricator checks the wire grid, edge cut and tolerance. An insert fitted inside a rebate follows the measured pocket dimensions and clearance. Send the section along with those dimensions.
Attach wire mesh to wood posts and rails
A useful fixing detail holds the mesh securely and covers the wire ends where hands or pets can reach them. On a framed insert, a screwed timber batten can trap a continuous edge. A compatible screw-and-washer or clip detail may suit a roll over several bays. Fencing staples work in some timber-post systems when both the staple and mesh construction are suited to the duty. Use the product-specific fixing schedule. A staple spacing from a lightweight garden roll cannot set the schedule for a rigid panel or a heavily used gate.[2]
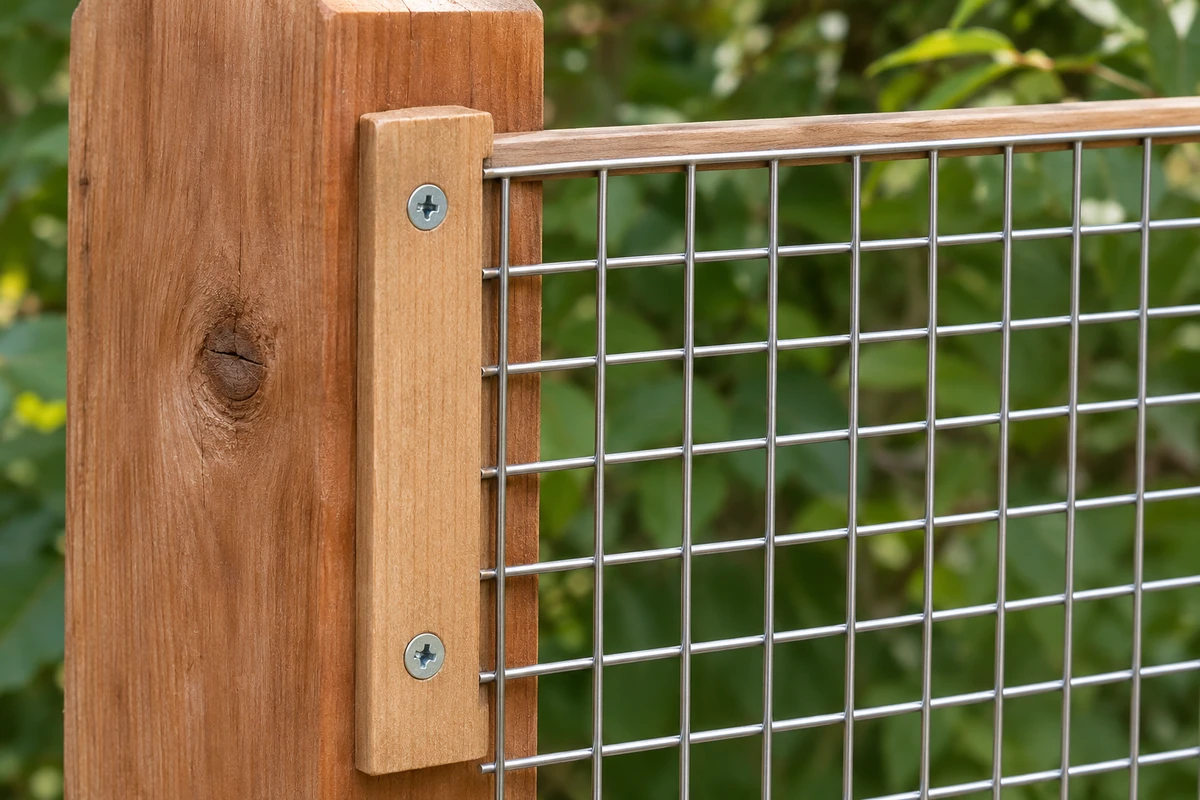
Offer up one sample before cutting the full batch. Confirm that the intended edge lands beneath the retainer and that the strip sits flat enough to engage the grid. If a wire terminates outside the strip, adjust the cut line or edge detail. Use hand and eye protection around cut wire and support the panel before releasing it from the roll.
For continuous mesh, plan joins at a location where they can be retained and checked. Agree how the terminal posts and corners take the forces from the run. For individual inserts, fit them without forcing a rectangular panel into a twisted opening. That usually leaves an uneven edge and makes the next replacement harder.
Detail the gate, bottom edge and changes in slope
A gate gets used differently from the fence beside it. Hang and square the gate frame, then check clearances with the mesh installed. The latch side and bottom edge need a second look after the gate has been swung through its full arc. A new paving lip, a wheel rut or a corner post sitting out of plumb can all change how the gate closes.
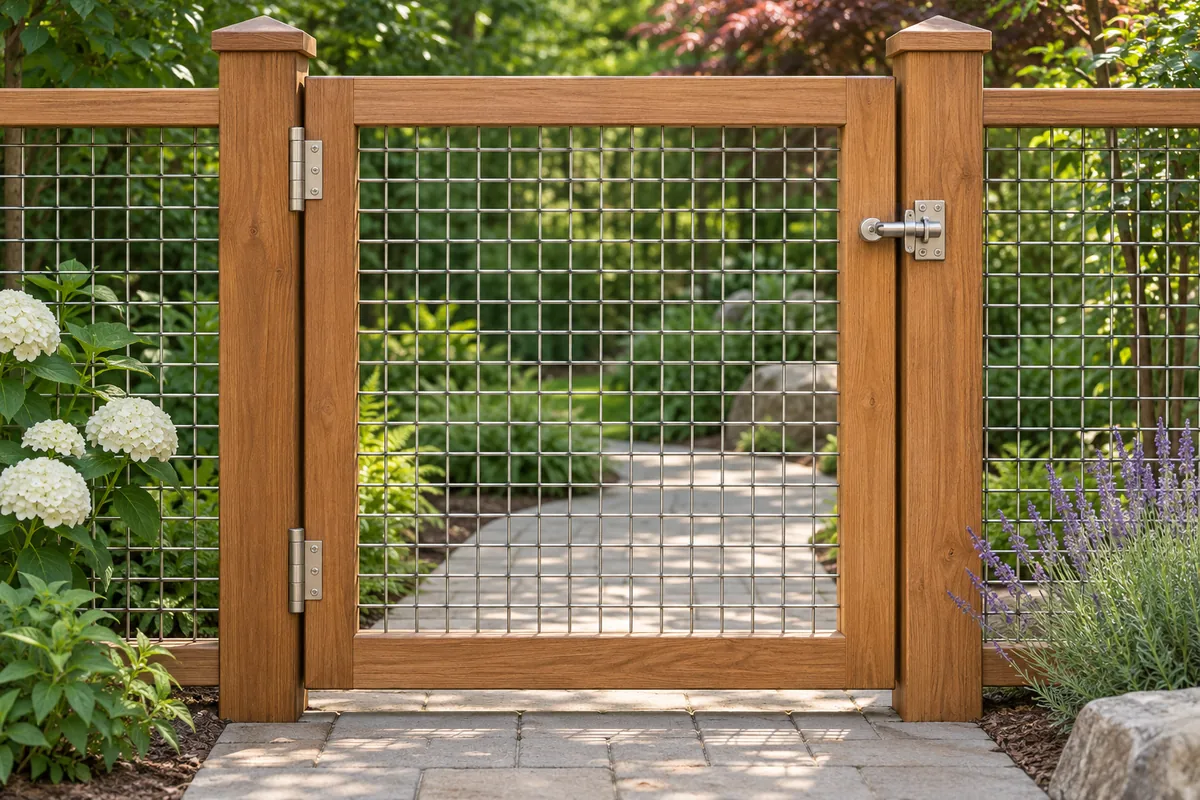
On a slope, stepped panels keep each mesh rectangle square but can leave triangular ground gaps. A raked bay follows the grade with a custom outline. Walk the proposed line and compare the finished ground gap at both ends of each bay. If the fence is intended to exclude wildlife, identify the target species and whether it can dig or climb. A decorative boundary detail sets the appearance. Pool barriers, deck guards and other protective assemblies require their project-specific design and approval.
Choose materials for the site and plan an inspection
With preservative-treated wood, ask the timber supplier which metal or coating it accepts and check the fastener supplier’s exposure guidance. Match fasteners and connectors to the installation, including damp joints and exposure to salts. Where possible, detail the edge so it can drain and dry. Visible corrosion at a wet batten is a reason to inspect the concealed wire ends as well as the screw heads.[3]
On a completed fence, sight along the face, work every latch and check for wire ends, loose retainers and gaps before accepting all bays. Use the first bay as a workmanship sample. After the first wet season, inspect again where the wood has moved, paying particular attention to gate uprights and long edges of narrow battens.
For an XTZ Fence inquiry, send the bay schedule, mesh opening and wire diameter, exposure, planned attachment section and quantity. Mark whether the order is for loose mesh, cut inserts or complete framed panels. Those are different items to price and fit.
Frequently asked questions
Can I attach wire mesh to an existing wood fence?
Yes, if the posts, rails and fixing surfaces can carry the proposed mesh and intended loads. Inspect the wood at fastener locations, measure finished bays individually, and check whether the old fence can accept a retainer without leaving gaps at the sides or ground.
What is the best wire mesh for a wood frame fence?
Rigid welded mesh is a practical starting point for a removable garden fence insert. A continuous roll may be easier for a long run. Set the opening by the boundary’s purpose and the diameter by the handling, stiffness and fixing requirements of that mesh.
Can I staple welded mesh to wood?
A compatible fence staple can be suitable for some roll systems. Verify its suitability for the wire, timber and exposure. On a rigid panel, a continuous batten or purpose-made clips may give better edge engagement and conceal cut ends. Compare one fitted sample before repeating the detail.
Should a wood and wire fence step or rake downhill?
Step rectangular bays when you can accept or close the changing ground gaps. Use raked panels if the bottom line should follow the grade. Mark every slope break on the drawing, including the transition at the gate.
What should I measure before ordering a replacement panel?
Measure the actual aperture, the retaining pocket or overlap, the clearance for assembly and the available depth. Identify the visible face and record left and right heights. Bring the old panel to the measurement only if it still represents the desired installed fit.
How do I stop cut mesh scratching people near a gate?
Capture cut wire ends in a suitable trim or frame, inspect the latch and hinge sides with the gate moving, and keep exposed ends away from hand height. A sample detail helps establish a consistent cut line for all the gate and fence panels.
Technical sources
- 811 guidance before digging
- The Home Depot wood-post wire fence installation guide
- Simpson Strong-Tie corrosion guidance for wood connectors and fasteners