Wire mesh sizes describe the clear opening, wire diameter and overall panel or roll dimensions. Woven cloth may also use a mesh count per inch. Those measurements answer different questions: how much can pass through, how much metal forms the grid, and whether the finished piece fits its frame.
A specification such as “20 mesh” leaves the wire diameter unresolved. “25 mm mesh” can also be ambiguous unless the drawing identifies clear opening or centre-to-centre spacing. Record both dimensions before ordering a stainless steel screen, fence panel or architectural infill.
The measurements that define wire mesh
| Term | What it measures | What to put on the drawing |
|---|---|---|
| Clear opening or aperture | The free gap between adjacent wires | Opening in each direction, with units |
| Wire diameter | The thickness of an individual wire | Diameter in millimetres or inches |
| Pitch | The distance between centres of neighbouring wires | State explicitly that the dimension is centre-to-centre |
| Mesh count | The number of repeating openings per linear inch | Count in both directions and the wire diameter |
| Panel or roll size | The outside dimensions of the supplied material | Width, length, orientation and edge condition |
For a regular square grid, pitch equals clear opening plus wire diameter. A 25 mm clear opening with 2 mm wire has a 27 mm pitch. A grid described as 25 mm centre-to-centre with the same wire has a 23 mm clear opening. Both might be casually called “25 mm mesh,” but they are different products.
How mesh count converts to opening size
For regular square-opening cloth with equal wire diameters, the relationship is:
Opening (mm) = 25.4 ÷ mesh count − wire diameter (mm)
There are exactly 25.4 mm in one inch. Dividing that length by the mesh count gives one repeat, including the wire. Subtracting the wire diameter leaves the gap. Multiply millimetres by 1,000 to express the opening in micrometres, or microns.
For example, 20 mesh made with 0.40 mm wire has a calculated opening of 25.4 ÷ 20 − 0.40 = 0.87 mm, or 870 microns. If the wire increases to 0.50 mm, the opening falls to 0.77 mm. The mesh count stays at 20.
| Mesh count per inch | Assumed wire diameter | Calculated opening | Opening in microns |
|---|---|---|---|
| 4 | 1.00 mm | 5.350 mm | 5,350 |
| 10 | 0.50 mm | 2.040 mm | 2,040 |
| 20 | 0.40 mm | 0.870 mm | 870 |
| 40 | 0.25 mm | 0.385 mm | 385 |
| 100 | 0.10 mm | 0.154 mm | 154 |
These are calculated examples, not an XTZ Fence stock list or a standard sieve schedule. They show why a conversion chart needs a wire-diameter column. Manufacturing tolerances must be agreed separately.
Rectangular mesh needs two measurements
A designation such as 18 × 16 mesh gives different counts in the two directions. Calculate each opening separately using the wire diameter that occupies that dimension. For a rectangular grid, open area is the product of the two opening-to-pitch ratios, multiplied by 100. Do not average the counts into one number.
Mesh count is not a test-sieve designation
A numbered test sieve follows a specified nominal aperture and tolerance system. Industrial cloth described by mesh count follows its actual wire geometry. Do not substitute one for the other on a laboratory or process specification. A test-sieve order should identify the required standard and aperture; a general mesh order should identify its construction, opening and wire.
The distinction between opening, mesh count and wire diameter is also covered in this wire mesh terminology reference. Use the supplier’s specification for the actual material being ordered.
Why gauge alone is not enough
Gauge identifies a wire-size system. AWG, SWG and trade-specific schedules are not interchangeable, so a bare instruction such as “16 gauge” can produce different interpretations. Give the diameter in mm or inches, and include the gauge system if a legacy drawing requires it.
Wire diameter affects weight and bending behaviour, but it does not establish the capacity of a complete panel. Span, edge restraint, weld or weave construction, frame stiffness and fixings also matter. A thicker wire may reduce clear opening if the pitch stays fixed.
How to measure an existing mesh sample
- Identify the construction. Look for fused intersections, an over-and-under weave, or a cut-and-stretched sheet.
- Measure clear opening in both directions at several undamaged locations. Avoid a distorted corner or cut edge.
- Measure wire diameter on a straight section, away from a weld or crimp. Note any coating and whether the reading includes it.
- For woven cloth, count complete repeats across a measured length. If using several inches, divide by that length to obtain the count per inch.
- Record the overall dimensions, edge finish and orientation. Include close-up photographs with a scale.
Fine cloth may need optical measurement rather than ordinary workshop calipers. Flattening a crimp or stretching the sample during measurement changes the geometry you are trying to record.
Open area: how much of the mesh is actually open?
For an ideal square-opening grid, projected open area is:
Open area (%) = [opening ÷ (opening + wire diameter)]² × 100
The 20-mesh example with a 0.87 mm opening and 0.40 mm wire gives approximately 46.9% open area. With 0.50 mm wire, the opening becomes 0.77 mm and open area falls to about 36.8%. That is a meaningful difference despite the identical mesh count.
This is a geometric estimate for the mesh field. Frames and solid margins reduce the open proportion of the whole assembly. Airflow, pressure drop and particle separation also depend on operating conditions; open-area percentage alone cannot predict them.
Match the dimension system to the product
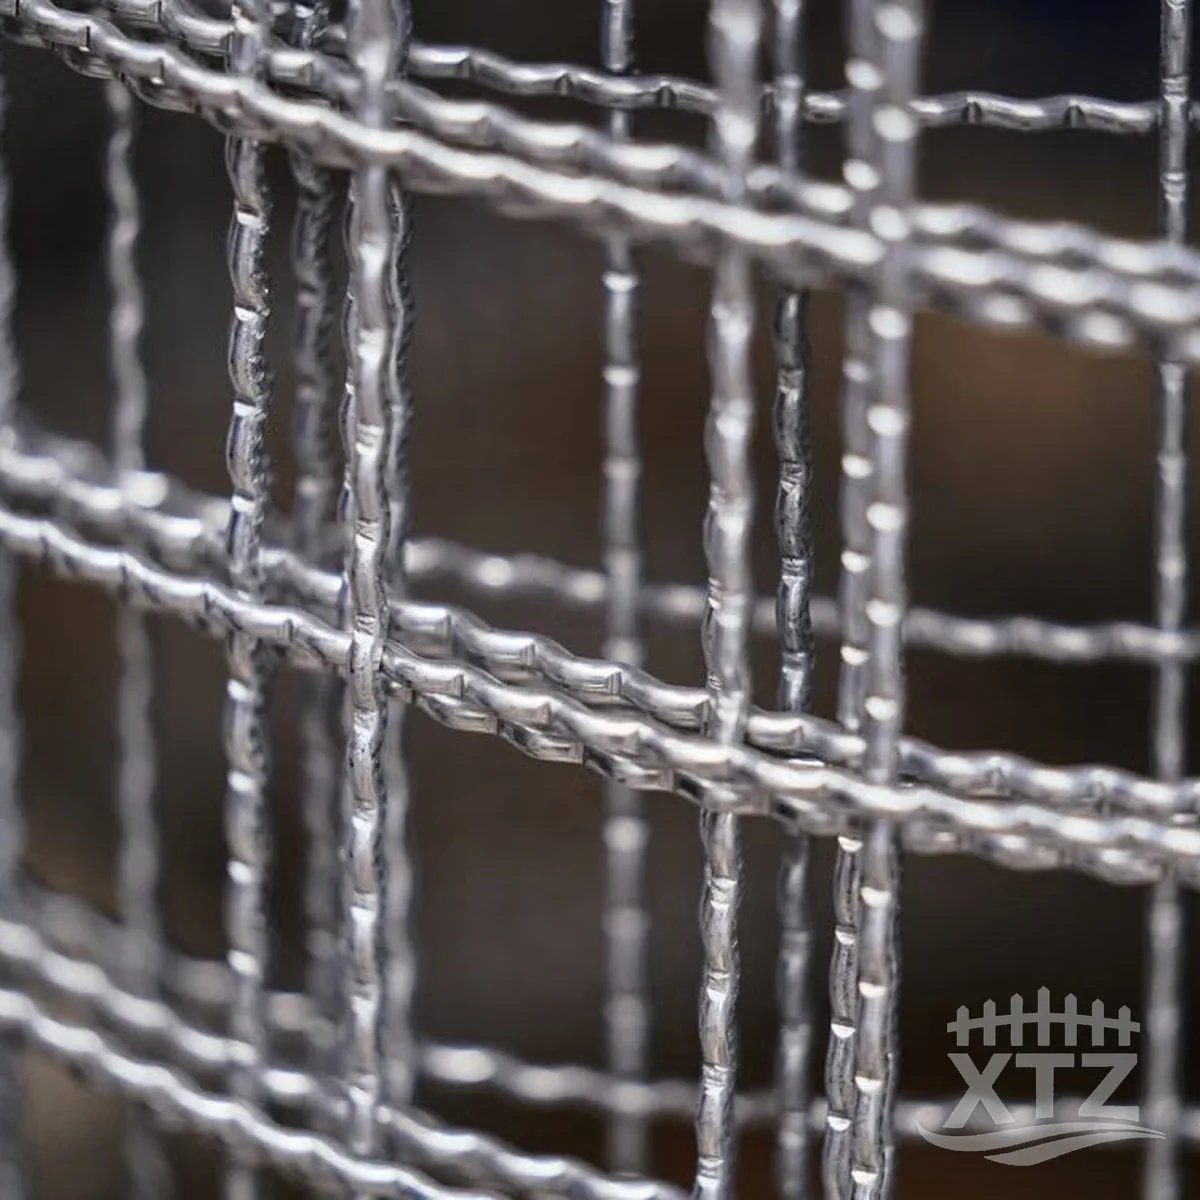
For stainless steel welded wire mesh, start with clear opening, wire diameter and roll or panel dimensions. For stainless steel crimped wire mesh, also identify the crimp pattern and edge treatment. Heavy crimped screens should not be specified solely by a fine-cloth mesh number.
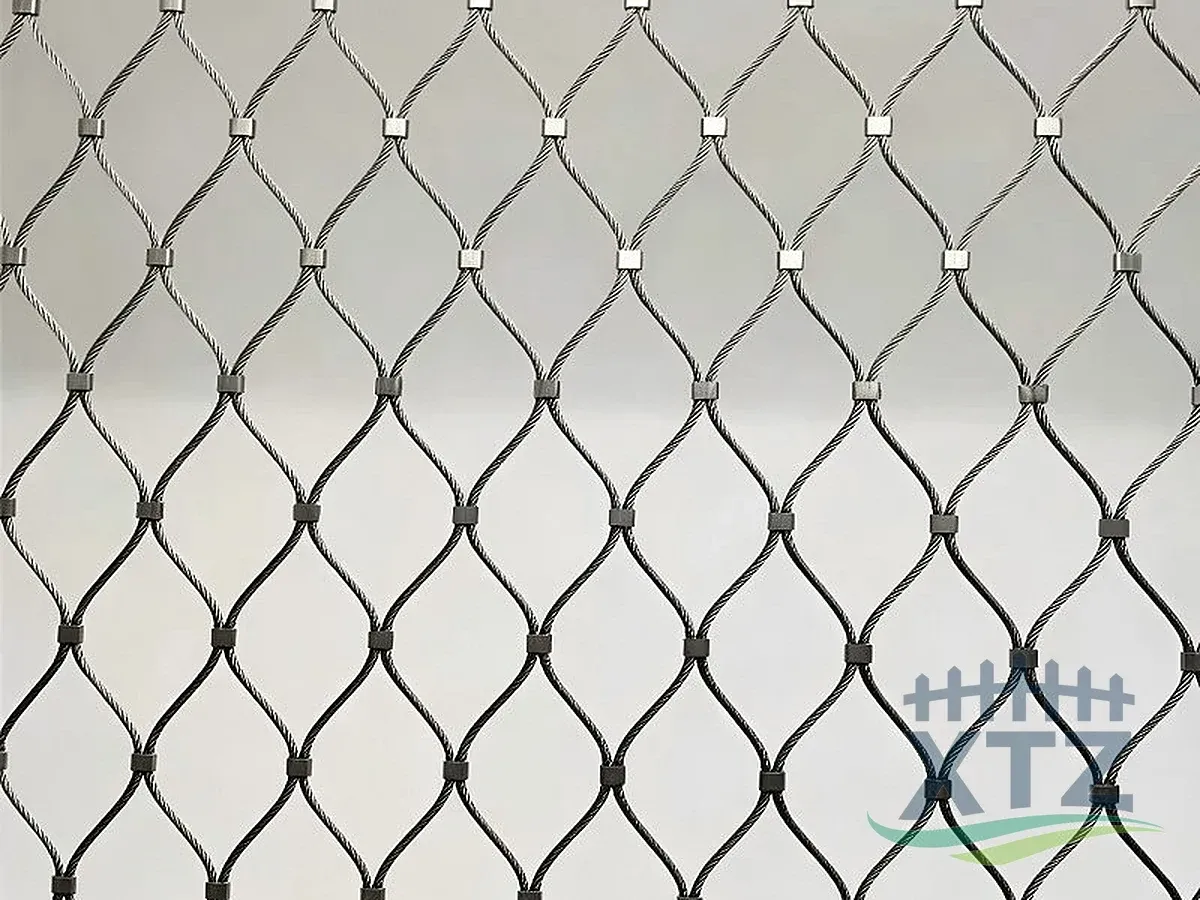
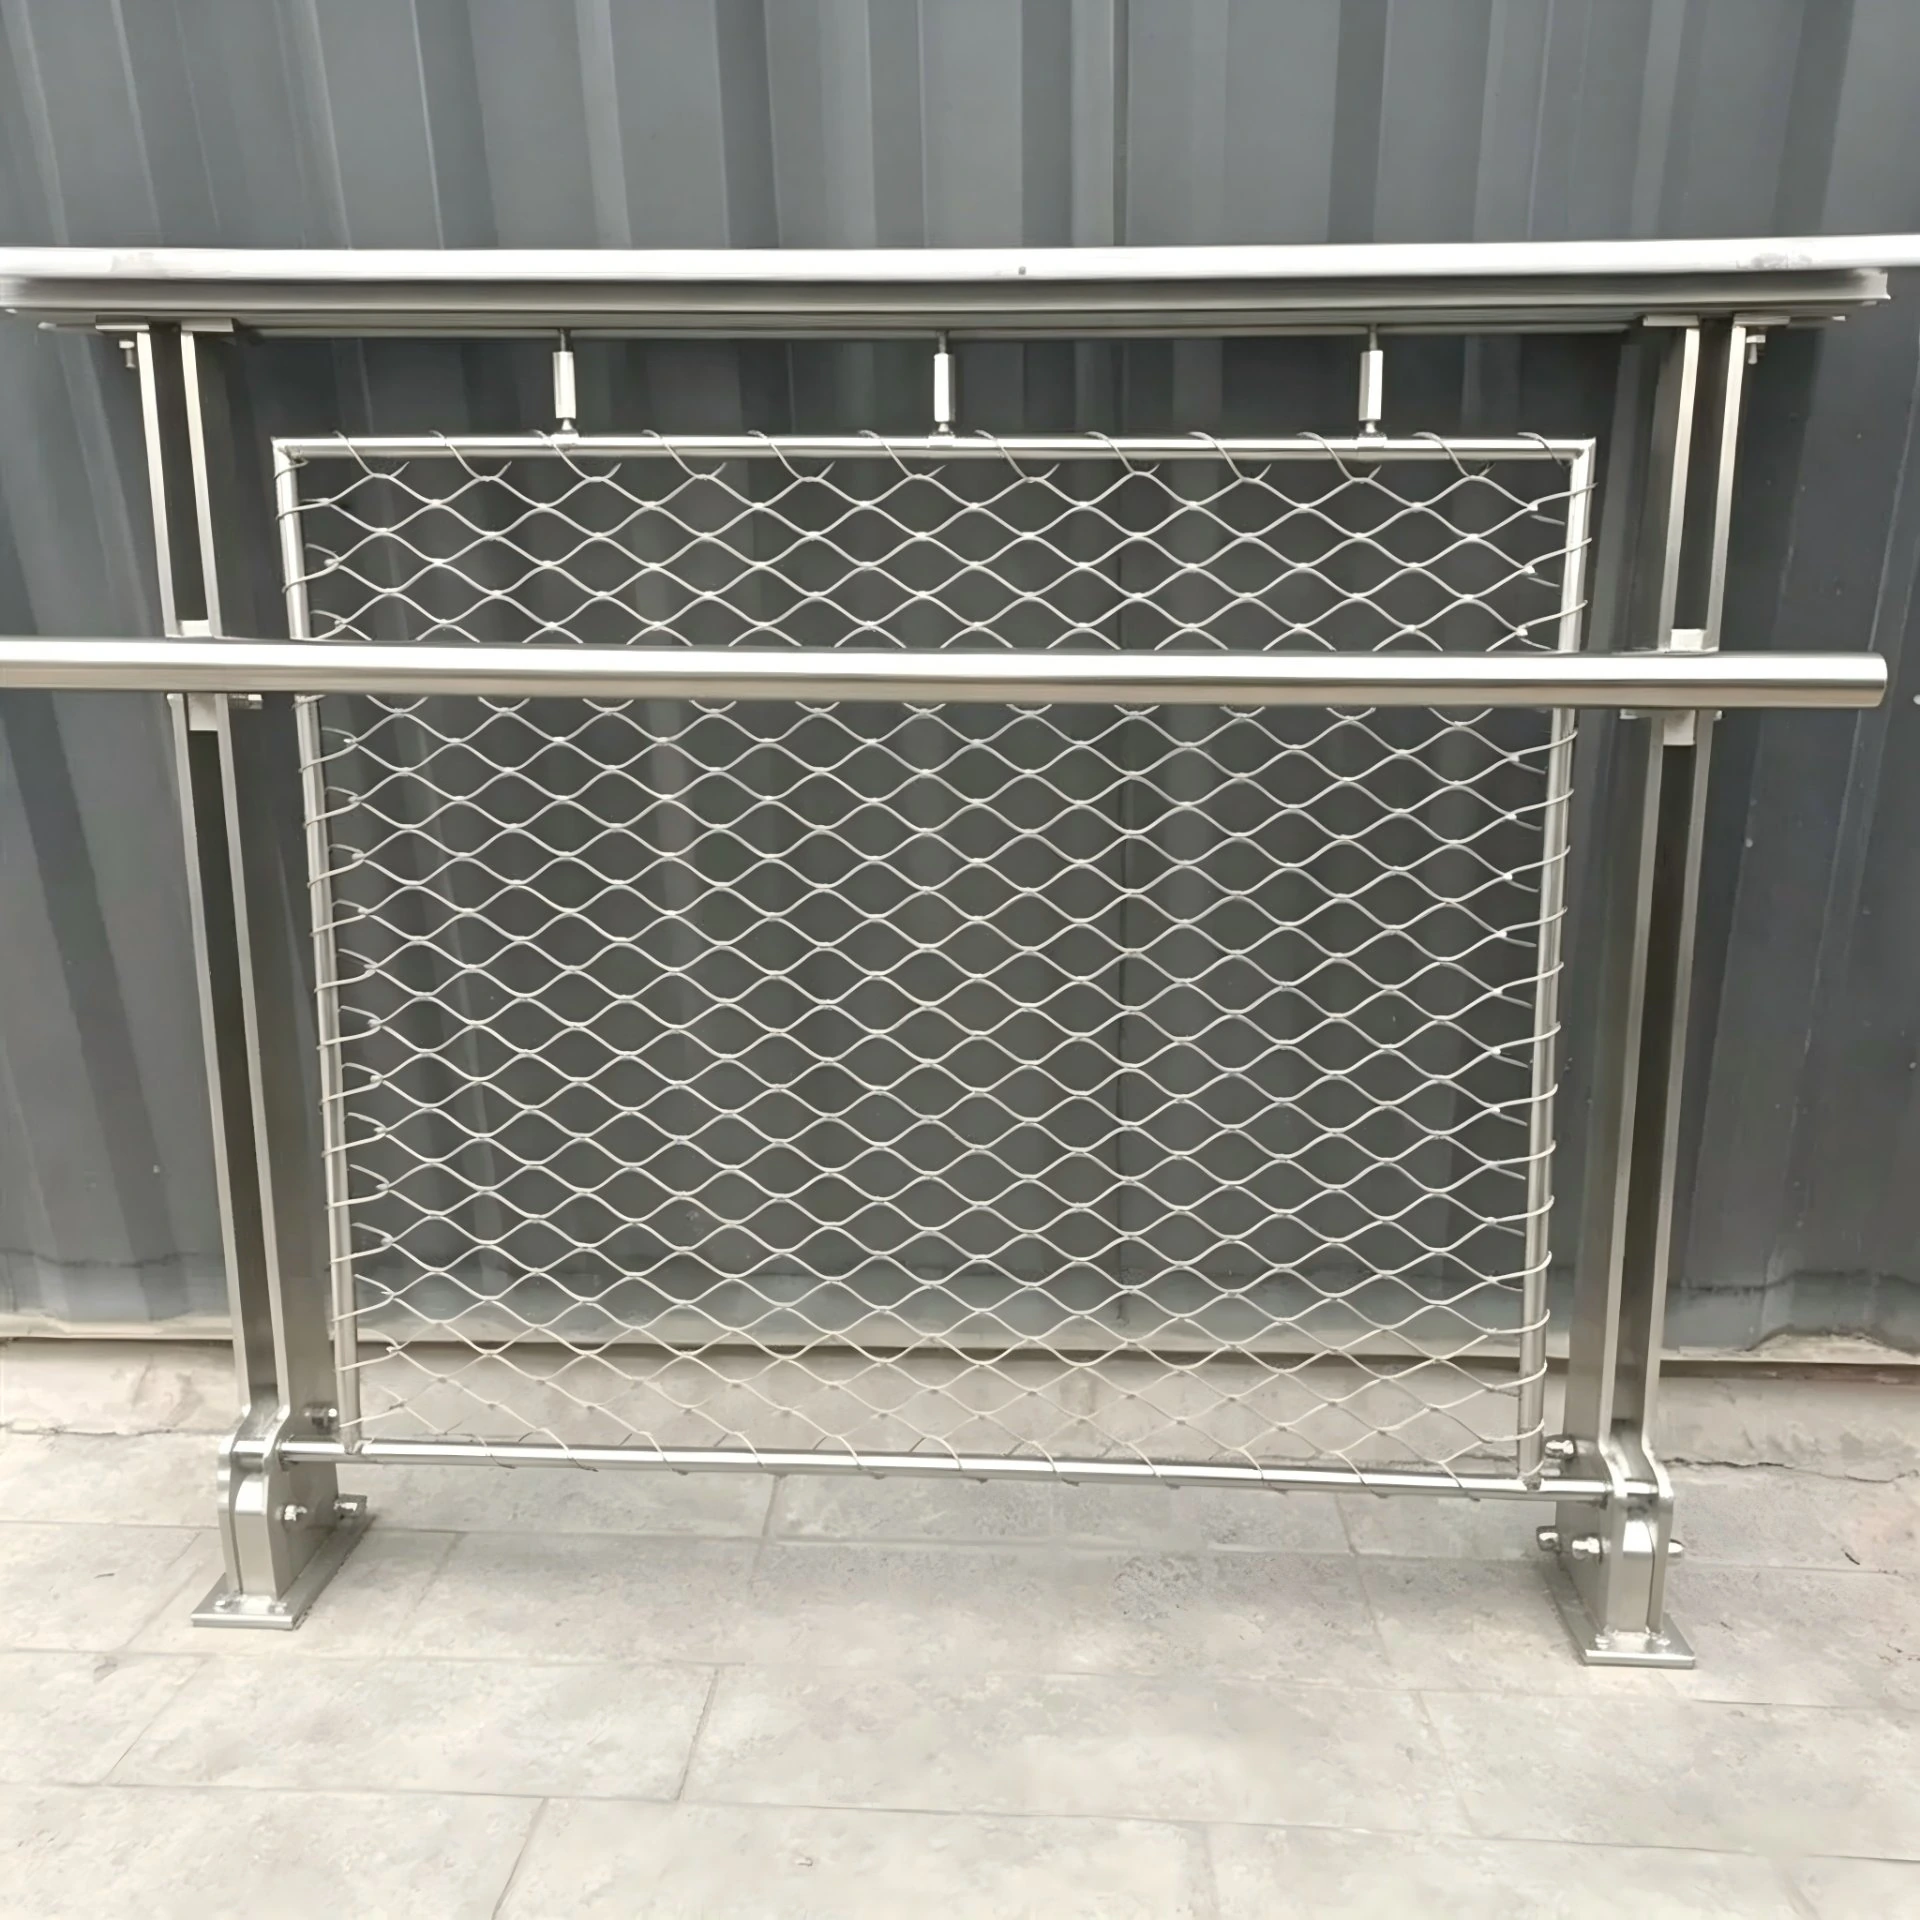
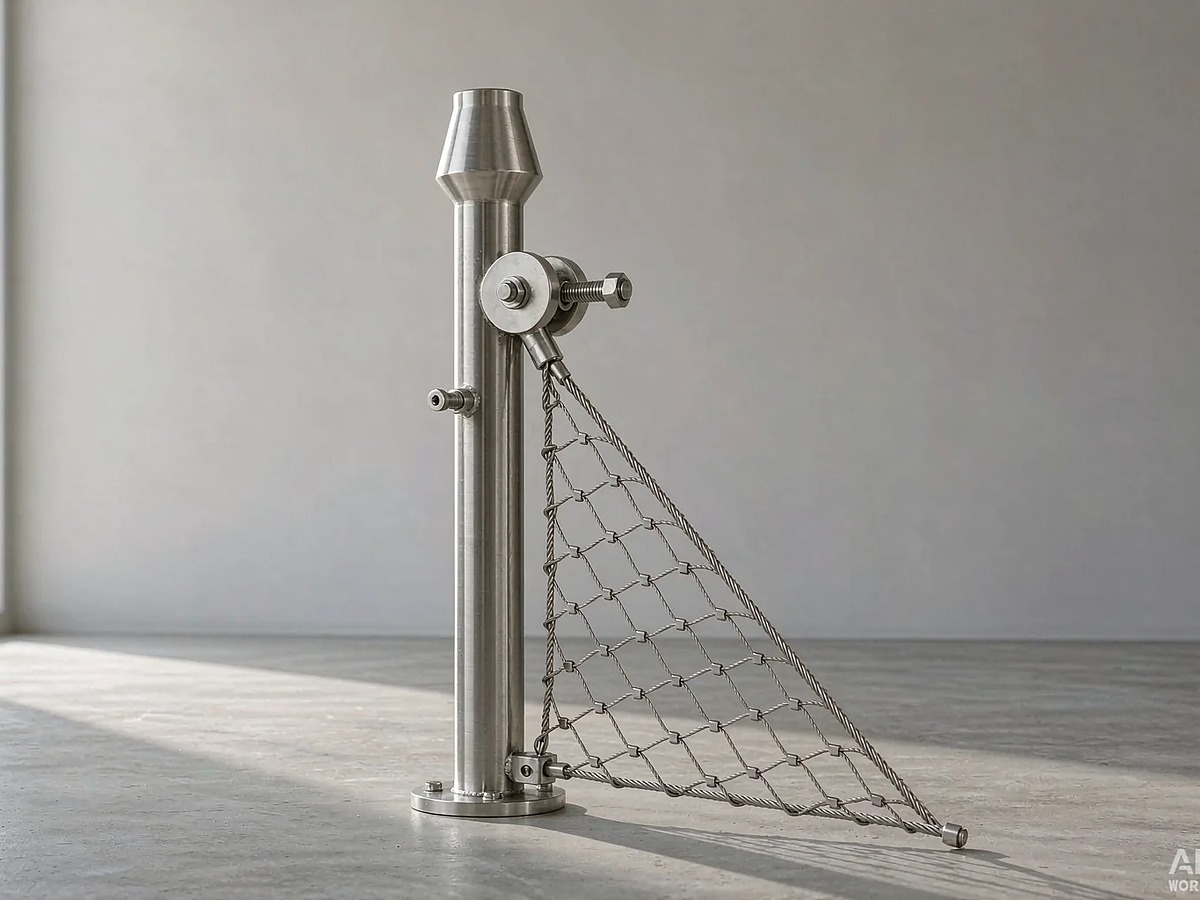
stainless steel cable mesh uses a different geometry: cable diameter, diamond opening, panel dimensions and the installed orientation or tension condition need to be coordinated. The square-grid formula above does not describe its installed diamond shape.
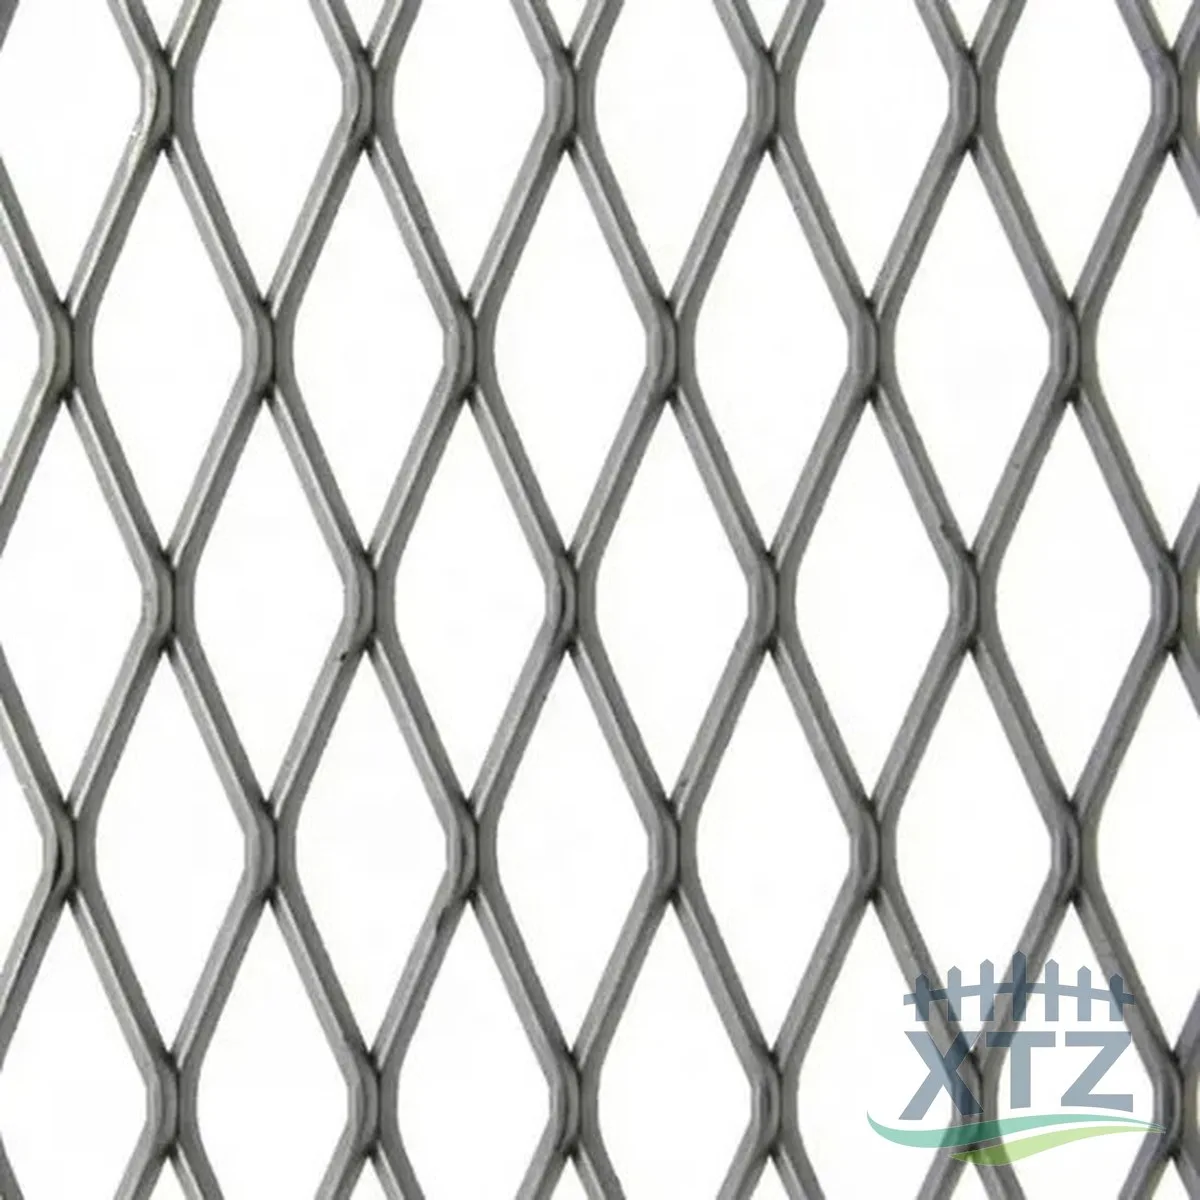
Similarly, stainless steel expanded metal mesh is specified using diamond dimensions, strand dimensions and profile. It is made from sheet rather than intersecting wires. Treating its designation as a woven mesh count will give the wrong result.
Where the mesh is part of a barrier, stainless steel welded wire mesh panels also need coordinated frames, posts and connections. Confirm the applicable project requirements before selecting an opening for a safety-related installation.
Frequently asked questions
Does a higher mesh number mean a smaller opening?
Usually, when comparing similar wire cloth. More repeats must fit into one inch. However, the actual gap also depends on wire diameter. Compare aperture values whenever the passage of a particle or object matters, and keep the weave construction consistent.
What is the difference between 4 mesh and a 1/4-inch opening?
Four mesh has a nominal repeat of one quarter inch, including wire. Its clear opening is smaller by the wire diameter. A specified 1/4-inch clear opening describes the empty gap itself. Ask which measurement is intended before treating the two labels as equivalent.
Can I convert mesh count to microns without wire diameter?
Not uniquely. A chart can assume a particular wire diameter, but that assumption must match the product. For square-opening cloth, calculate pitch from the count, subtract the wire diameter, then convert the resulting aperture to microns.
Does this formula work for Dutch weave?
No. Dutch weave has a different wire arrangement and flow path. Specify the weave and the required filtration performance with the supplier, rather than calculating a square clear opening from one mesh number. A stated filtration rating also needs its test basis.
Which dimensions should I send for a replacement panel?
Send the construction, material grade, opening in both directions, wire diameter, outside panel dimensions and edge condition. If a frame is included, show its fixing positions and available installation space. A labelled photograph helps explain the dimensions but does not replace a drawing.
For an XTZ Fence project, send the sample measurements or drawing with the intended use and quantity. This gives the team a clear basis for checking the mesh specification and supply format.