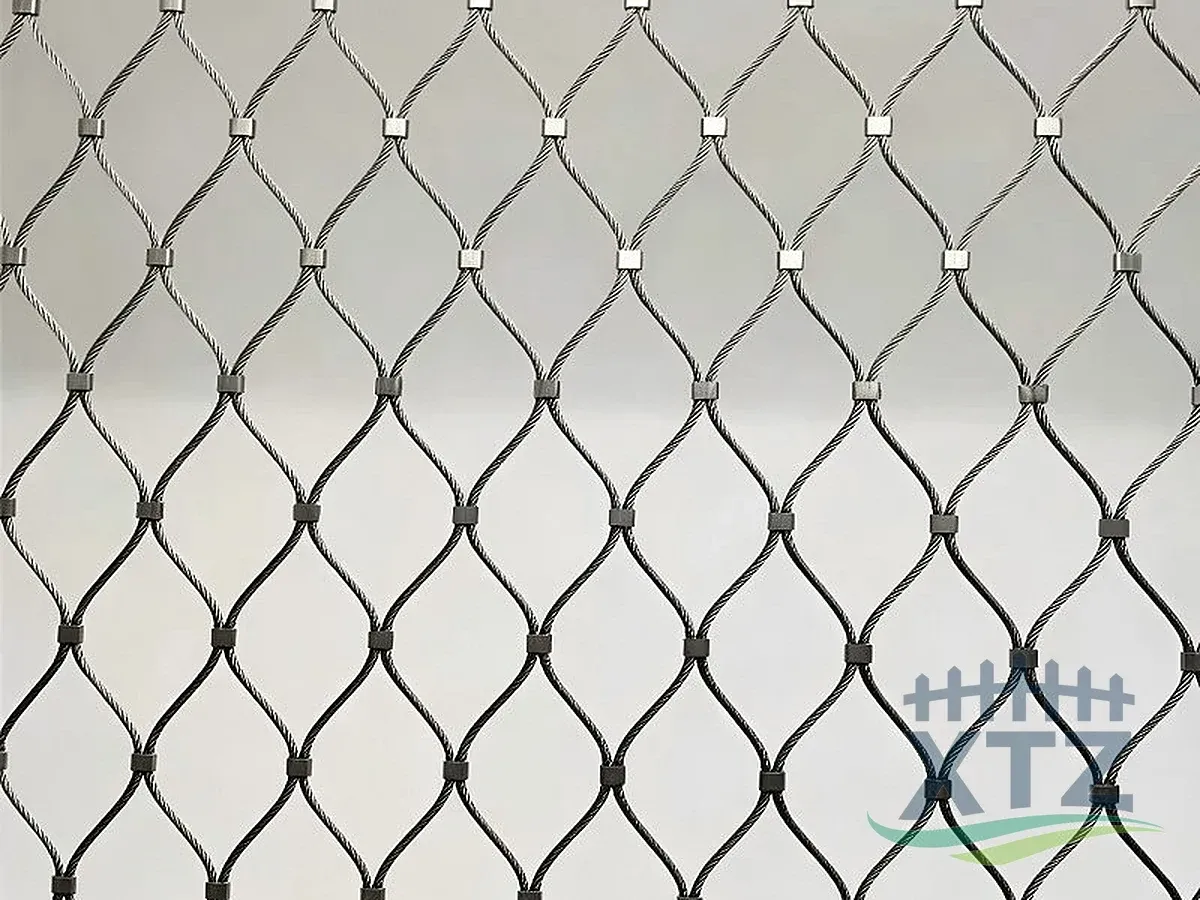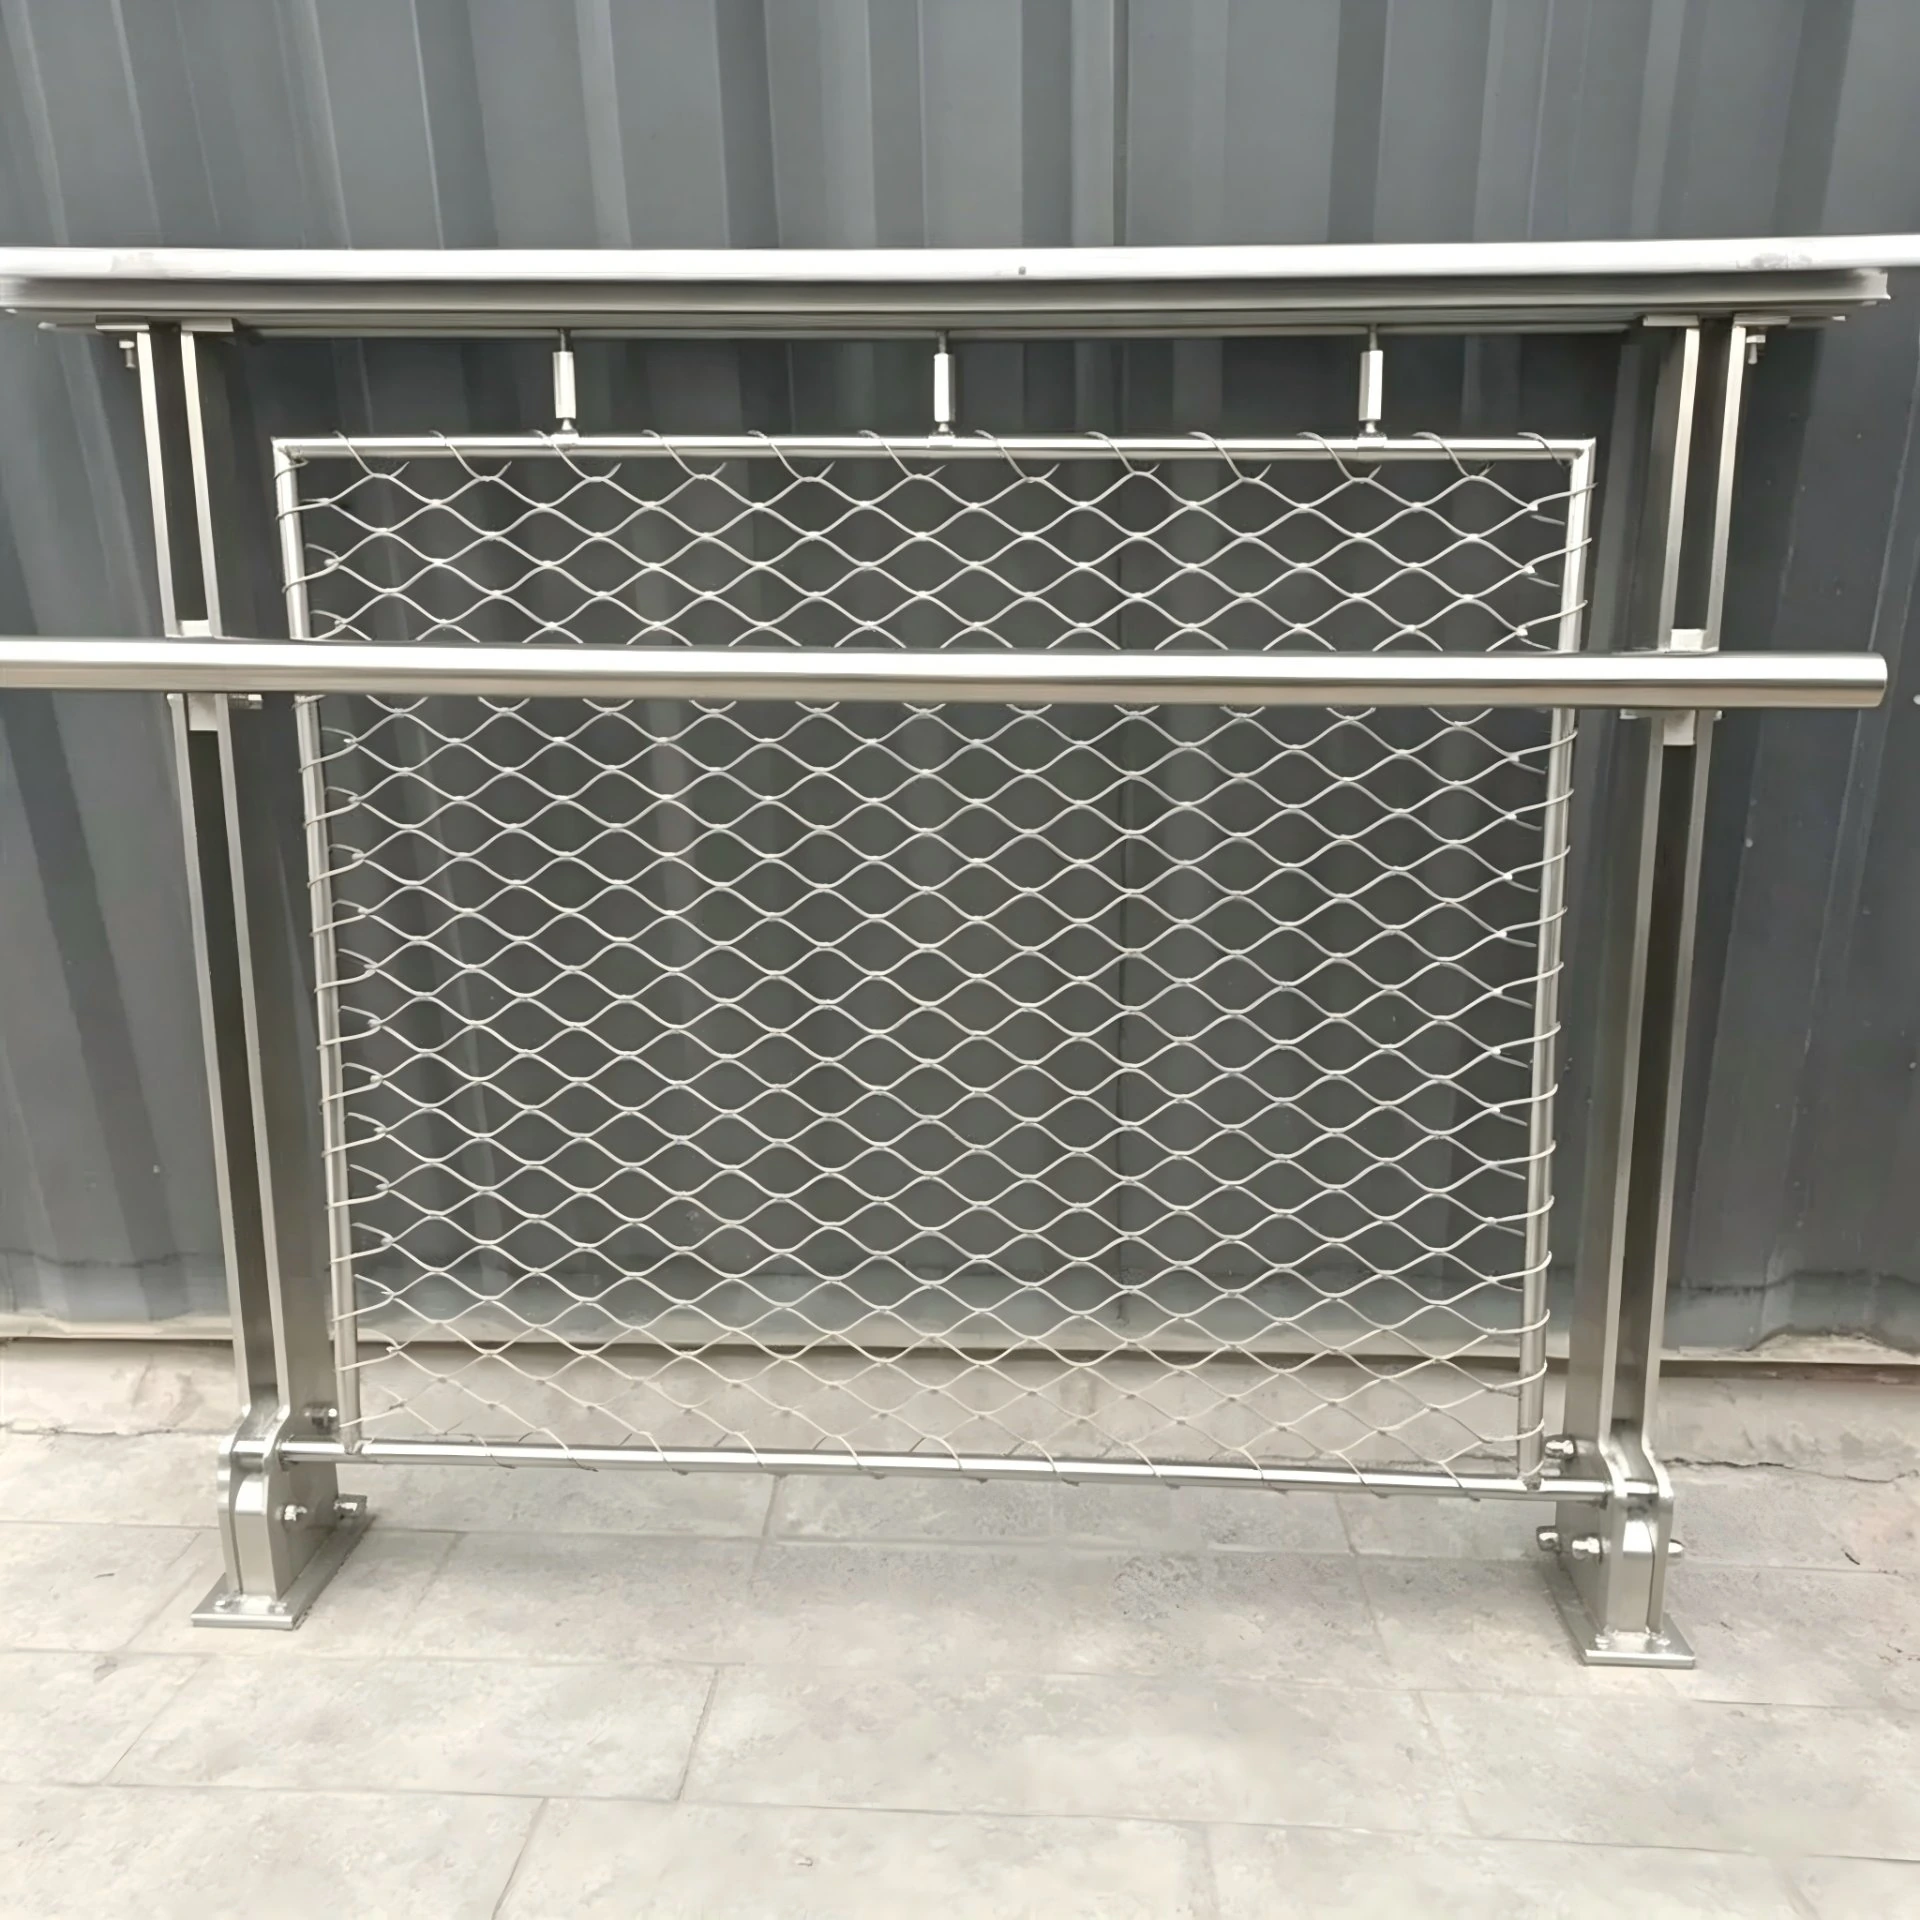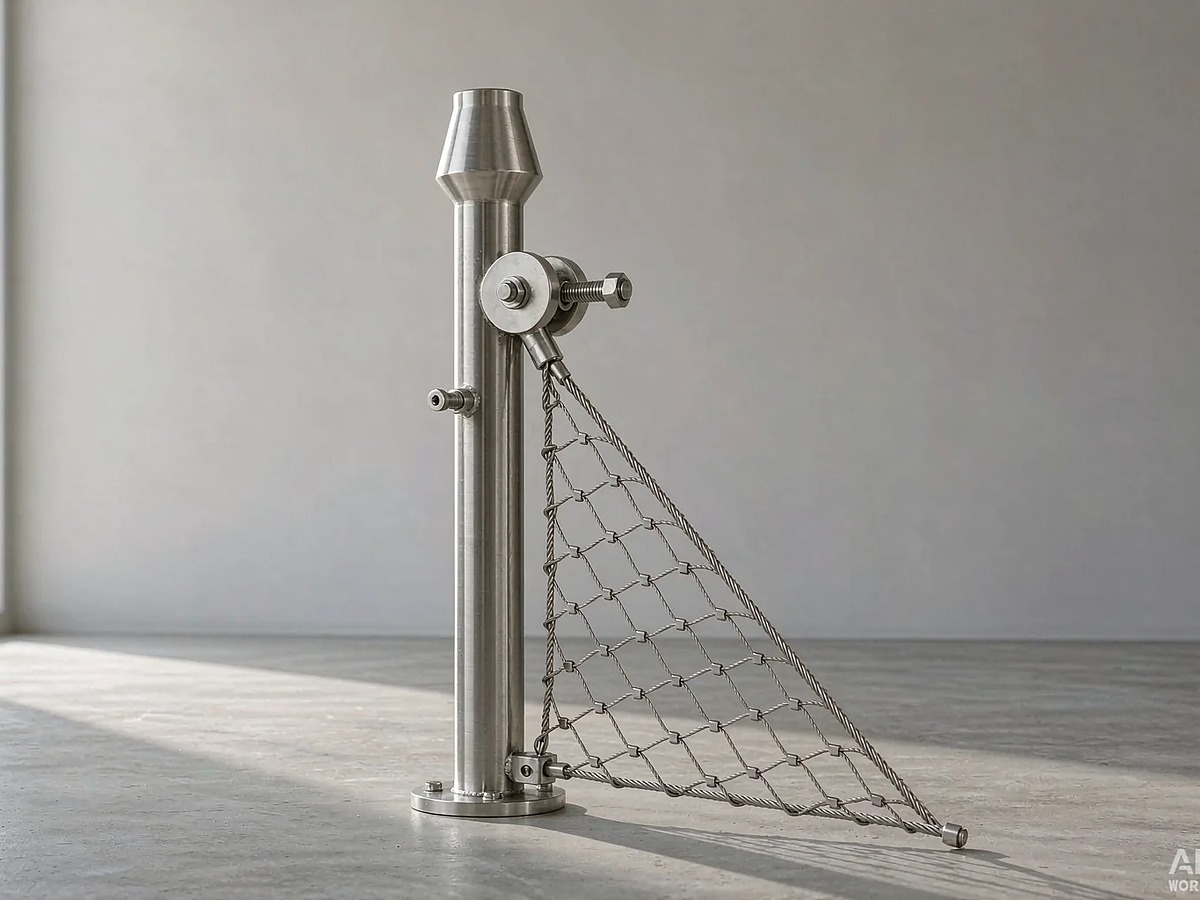
Wire mesh sculpture can be shaped from fine woven cloth, formed with a stiffer architectural grid or built as a flexible surface on a frame. Choose the mesh after deciding what viewers should see through it and what will hold the form. A curved gallery piece and a permanent public installation place different demands on the wire, seams and supports.
Decide what the mesh surface should do
Start with a drawing that shows where the mesh is visible, which direction it curves and what sits behind it. The same grid can read as a clear outline against a plain wall and disappear into a busy background. Overlapping layers can produce a deliberate interference pattern or an unwanted visual distraction. View a representative sample from both sides and from the distance people will normally stand.
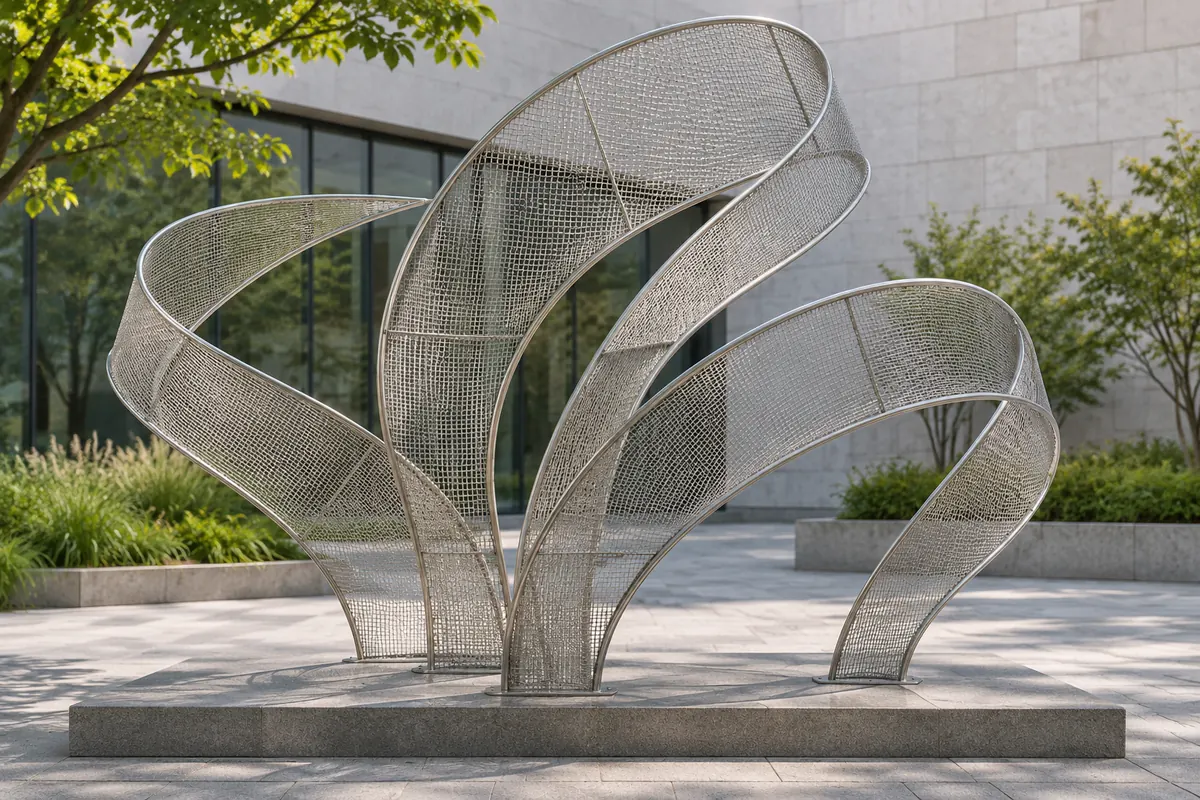
Look at design references for the question they answer. Edoardo Tresoldi’s Opera is a public installation in which transparent mesh is part of how the architecture reads against the site.[1] In Re-Stack, the documented application is an outdoor sculpture formed using architectural woven wire mesh.[2] Those examples can help an art team discuss visual scale and light. The fabrication and support conditions still come from its own project.
Match mesh construction to the form
A small form with soft, compound curves usually calls for samples of fine woven metal cloth. A broad, regular architectural surface can suit a stiffer crimped weave or rigid grid. For a tensioned open form with a perimeter designed to carry it, consider a flexible cable net. Sketch where the panel changes direction and show which connections will be visible from the front and back.
| Material or construction | Where to start | What to verify on a sample |
|---|---|---|
| Fine woven stainless wire cloth | Small hand-formed shapes, veils and translucent layers | Minimum practical curve, edge unraveling and visibility of seam treatment |
| Crimped architectural woven mesh | A repeated grid or stiffer framed design feature | Total thickness, mesh direction, pattern repeat and room for edge capture |
| Welded wire mesh | Flat segments, more defined facets or a secondary grid | Wire ends, joint condition after planned fabrication and where the grid will meet the frame |
| Ferruled stainless cable mesh | Open architectural surface carried by its own boundary framework | Installed opening shape, cable orientation, support and termination details |
| Expanded sheet | Directional diamond texture or a folded sheet feature | Strand orientation, edge finish and how the material reads at an angle |
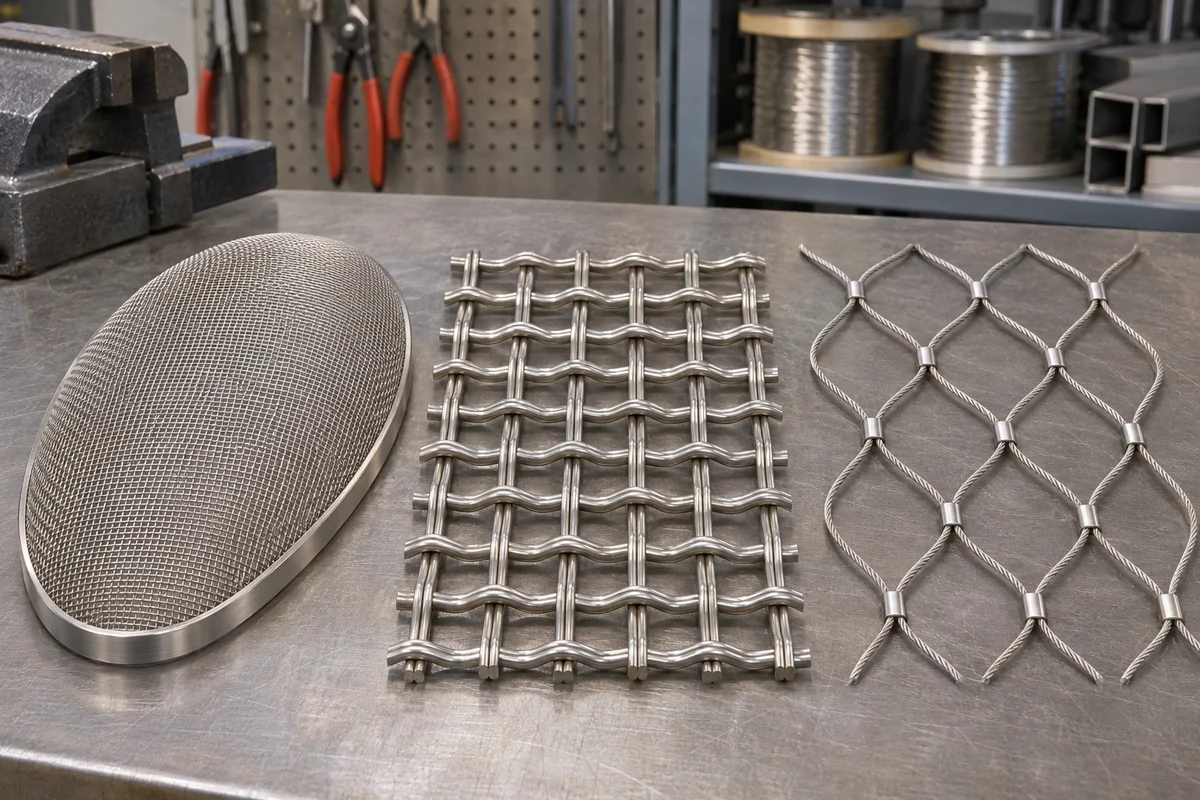
For an architectural woven surface, review decorative metal mesh panels and the construction of crimped woven wire mesh. If the concept uses an open diamond net, stainless steel cable mesh needs an approved perimeter detail. Its visual openness is a separate question from how the assembly carries loads or holds its shape.
Artists and fabricators describe very different working methods. A fine woven sheet can be cut to a pattern and shaped by hand. A large, stiff architectural mesh is often divided into manageable sections that a fabricator can support and finish. A quick material sample will tell you more about crease marks and springback than comparing wire diameter alone.[2][3]
Prototype the curve, seam and edge
Draw a cross-section through the point where the curve is tightest. Then build a sample large enough to include an actual seam and a representative boundary. A small flat swatch can show finish. It cannot show how the structure responds when the shape is formed and held.
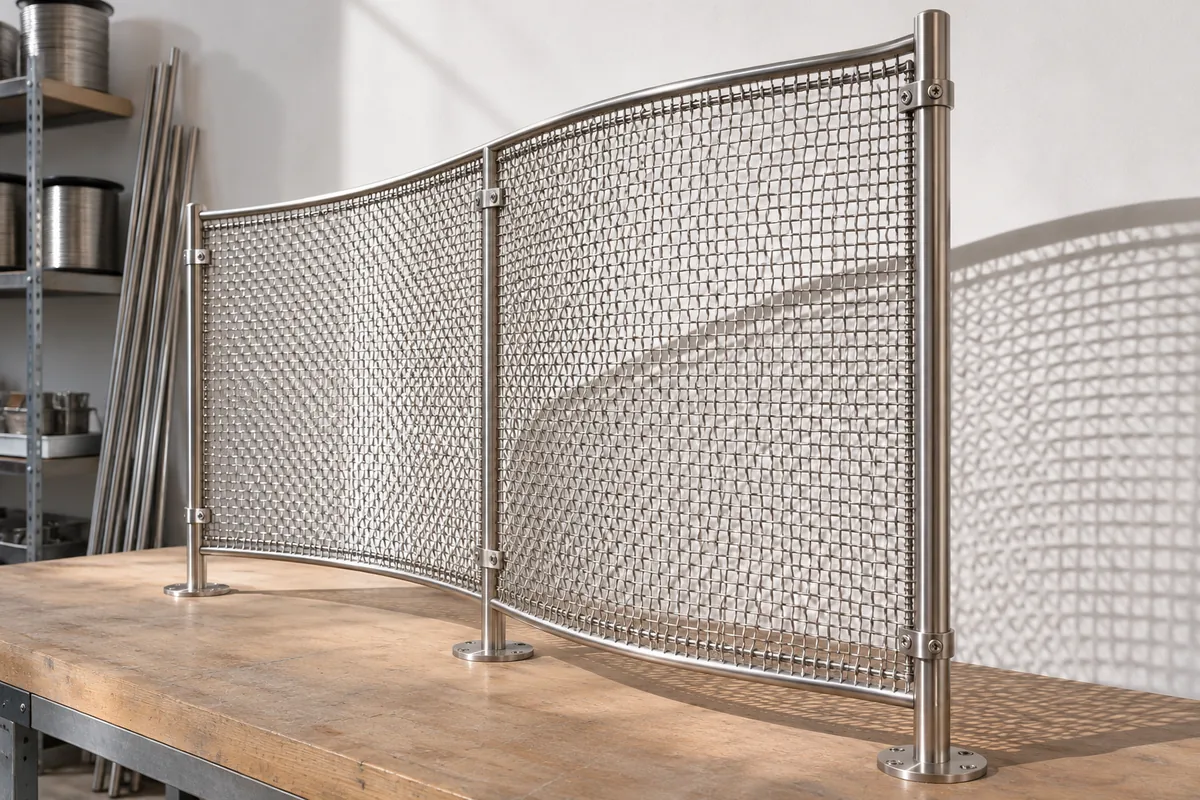
Test the seam in the same orientation as the final work. A reinforcement that disappears behind one strand direction can stand out when the seam crosses the pattern. Decide how to terminate cut wire, whether it will be enclosed by a folded edge or frame, and how joints are to be accessed during fabrication. Leave accessible edges smooth enough for the intended public setting and agree how the installation will be inspected.
Worked sample comparison. A gallery mockup uses a plain square weave with a 6 mm pitch and 1 mm round wire. Its clear opening is nominally 5 mm. At a normal viewing angle to one flat layer, approximate geometric open area is (5 ÷ 6)², or 69%. Two layers may align in one view, then interfere as the observer walks past. The single-layer calculation cannot predict the light or shadow of the curved, layered assembly. Photograph both mockups under the intended lighting and record the chosen orientation on the drawing.
For a suspended proposal or a work placed outdoors, involve the person responsible for the support design before the prototype is approved. The finished form, its framing, attachments, site exposure and maintenance access all belong in the brief.
Specify the finish and environment
See the physical sample under the intended daylight or lamps. Bare stainless, a brushed finish and a colored coating can reflect light differently. Record the base material separately from the finish. If the mesh will be cut, folded or joined after its finish is applied, confirm how those operations affect the finished appearance and protection.
Outdoor work can accumulate dust and deposits at seams or close to the ground. Make a note of drainage, cleaning access and where a damaged panel can be replaced. In public installations, coordinate any accessible edges and support details with the designer responsible for visitor use. For broader applications, the architecture mesh selection guide explains how opening, material and direction interact across panels.
Send the fabricator a usable brief
Prepare a drawing with the overall envelope, mesh direction and face, curve or supporting shape, tolerances, edge conditions and quantity. Add a finish reference, a sample size, the site exposure and the intended viewing distance. If the work breaks down for transport, show where each field joint is allowed to sit and how installers will reach it. The installer will also need to know which elements can be removed later.
XTZ Fence can review a mesh-material inquiry against a drawing and sample brief. Specify which part of the job you want priced. A sheet, a cut-to-size piece and a finished framed element have different production and verification needs. Ask who will approve the final seam, finish and frame samples before a long run or an outdoor installation.
Frequently asked questions
What wire mesh is easiest to shape for a sculpture?
Start with a fine woven cloth sample for a small piece with tight curves. Wire alloy, diameter and weave affect how the material feels while being formed. Try the tightest bend and an actual seam on the sample before choosing the full sheet.
Can welded mesh be used for a curved art installation?
It can suit some shallow curves, faceted forms or a support grid, subject to the mesh and fabrication method. Have the fabricator check the proposed radius and the condition of welds after forming. Test an edge or joint as part of the sample.
Does a more open mesh always look more transparent?
Lighting, background contrast, viewing angle and layered surfaces can change the effect. Measure the clear opening for the specification, then compare physical samples with the same background and lighting. Move past them at the intended viewing distance before deciding.
How can a designer hide the joins between mesh panels?
Plan joints at geometry breaks or behind supports when the design permits. Show the joint lines on the drawing and test them on a large sample. A seam that looks discreet in one light may cast a dense line in another.
Can stainless cable mesh hold a curved shape on its own?
A cable net takes its form from how it is supported and tensioned. Resolve its perimeter, connection positions and installed geometry before ordering. A flexible net and a self-supporting panel should be evaluated separately.
What changes for outdoor wire mesh art?
Ask the project team to address weather exposure, supports, public contact, cleaning and eventual replacement. Review the finish in daylight and check locations where water or deposits will collect. Agree who supplies and verifies the frame and anchors.
Technical sources
- Edoardo Tresoldi’s documentation of Opera
- Banker Wire’s material documentation for Re-Stack
- Nancy Ilg’s studio notes on forming stainless wire mesh