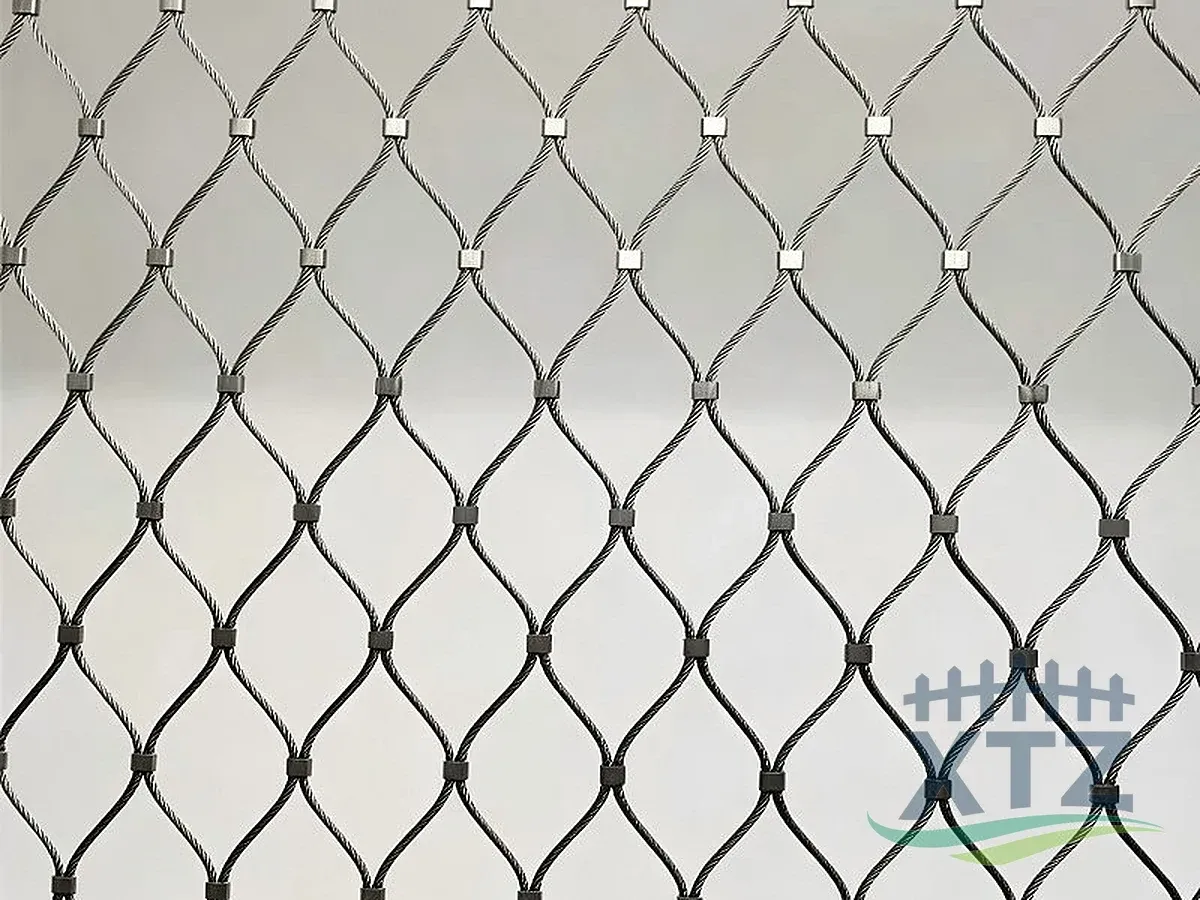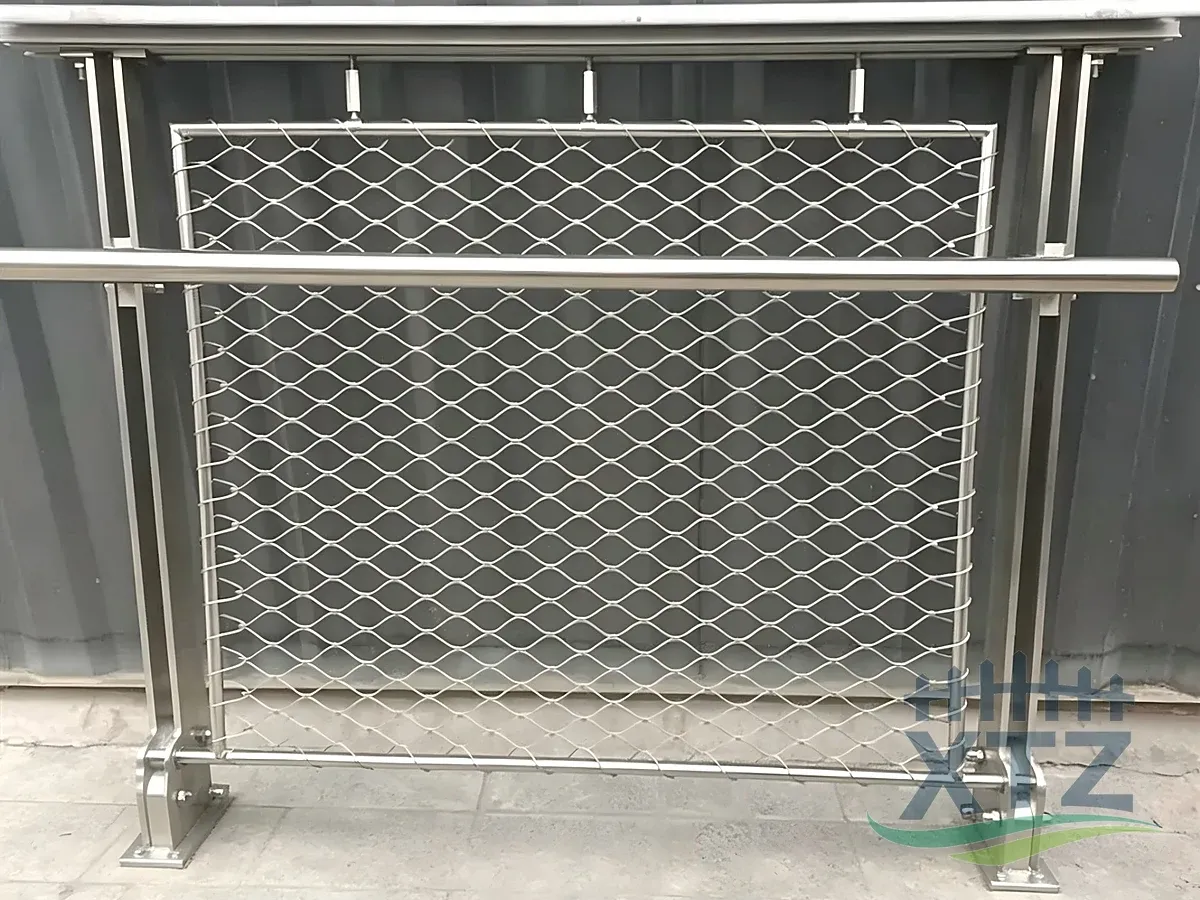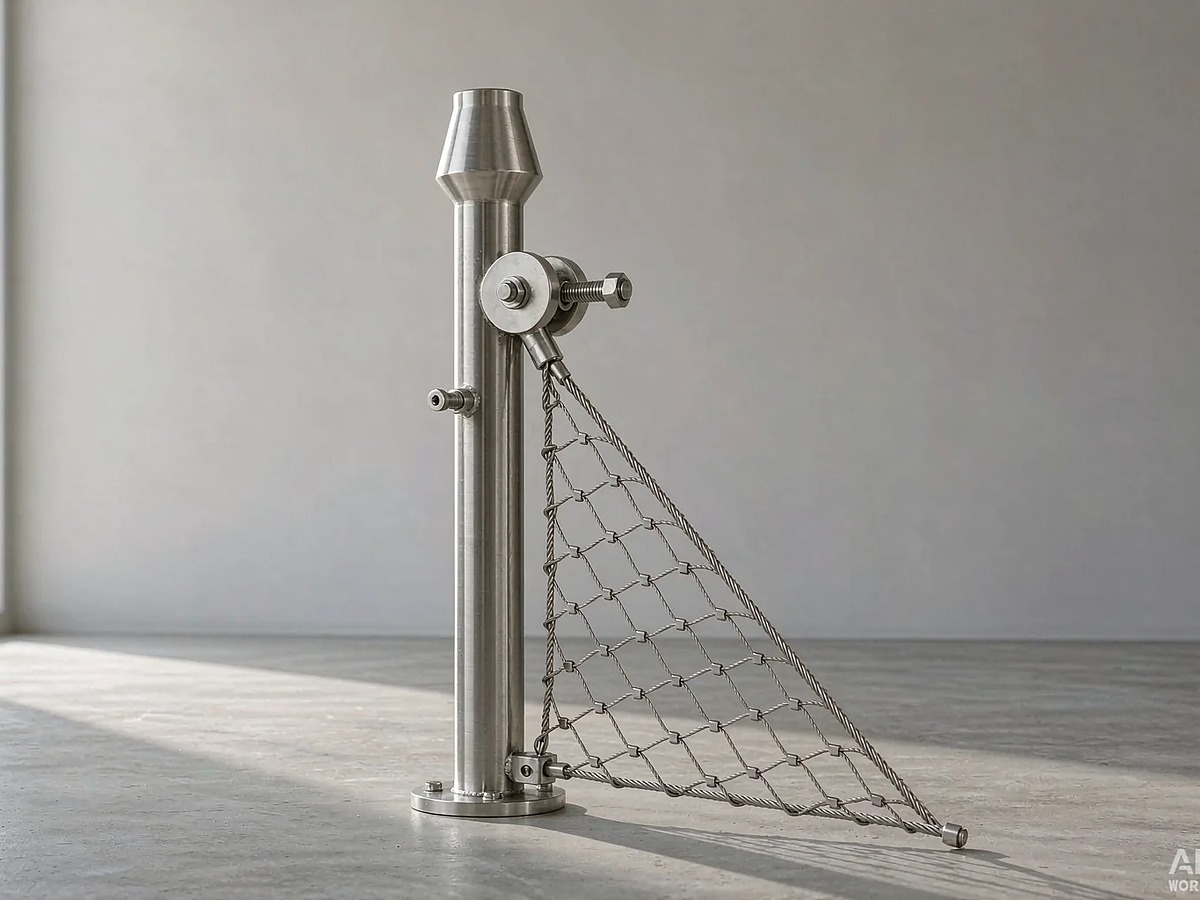
Choose decorative wire mesh by reviewing the pattern, openness and finish at the intended viewing distance, then confirming how the panel fits its frame. Cabinet doors need accurate inserts and secure retention; partitions and screens need coordinated supports. Approve the sample against the actual background and lighting before ordering multiple panels.
For a comparison of mesh families across building applications, see wire mesh for architecture.
Start with what the mesh should let you see
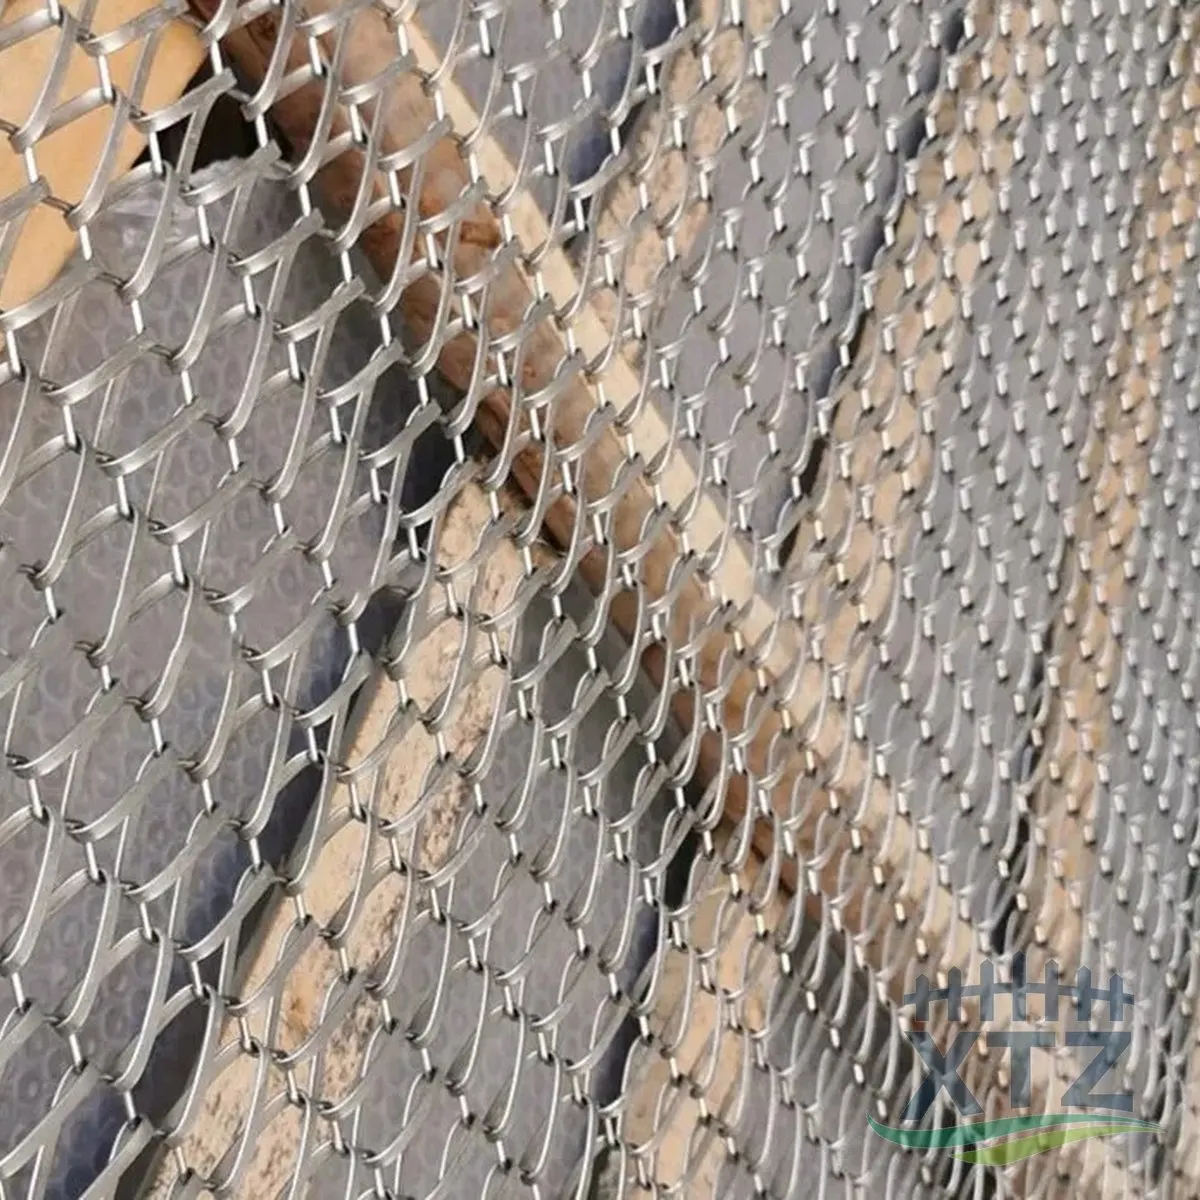
A decorative mesh screen can reveal a display, soften a view or create a visible boundary. Decide which of these you want before selecting a pattern. A fine texture that looks opaque on a sample board may reveal cabinet contents when lights are switched on behind it.
Hold candidate samples against the intended interior, wall or furniture finish. Look straight through them and then from the side. Repeat the check with the light source in front and behind. These simple comparisons often narrow the selection more effectively than a long list of finish names.
XTZ's stainless steel decorative mesh range includes woven, cable-supported and formed surfaces, with project-sized rolls, panels or framed assemblies described on the current product page. The exact pattern and finish should be confirmed for the enquiry.
Choose a pattern at the scale of the finished installation
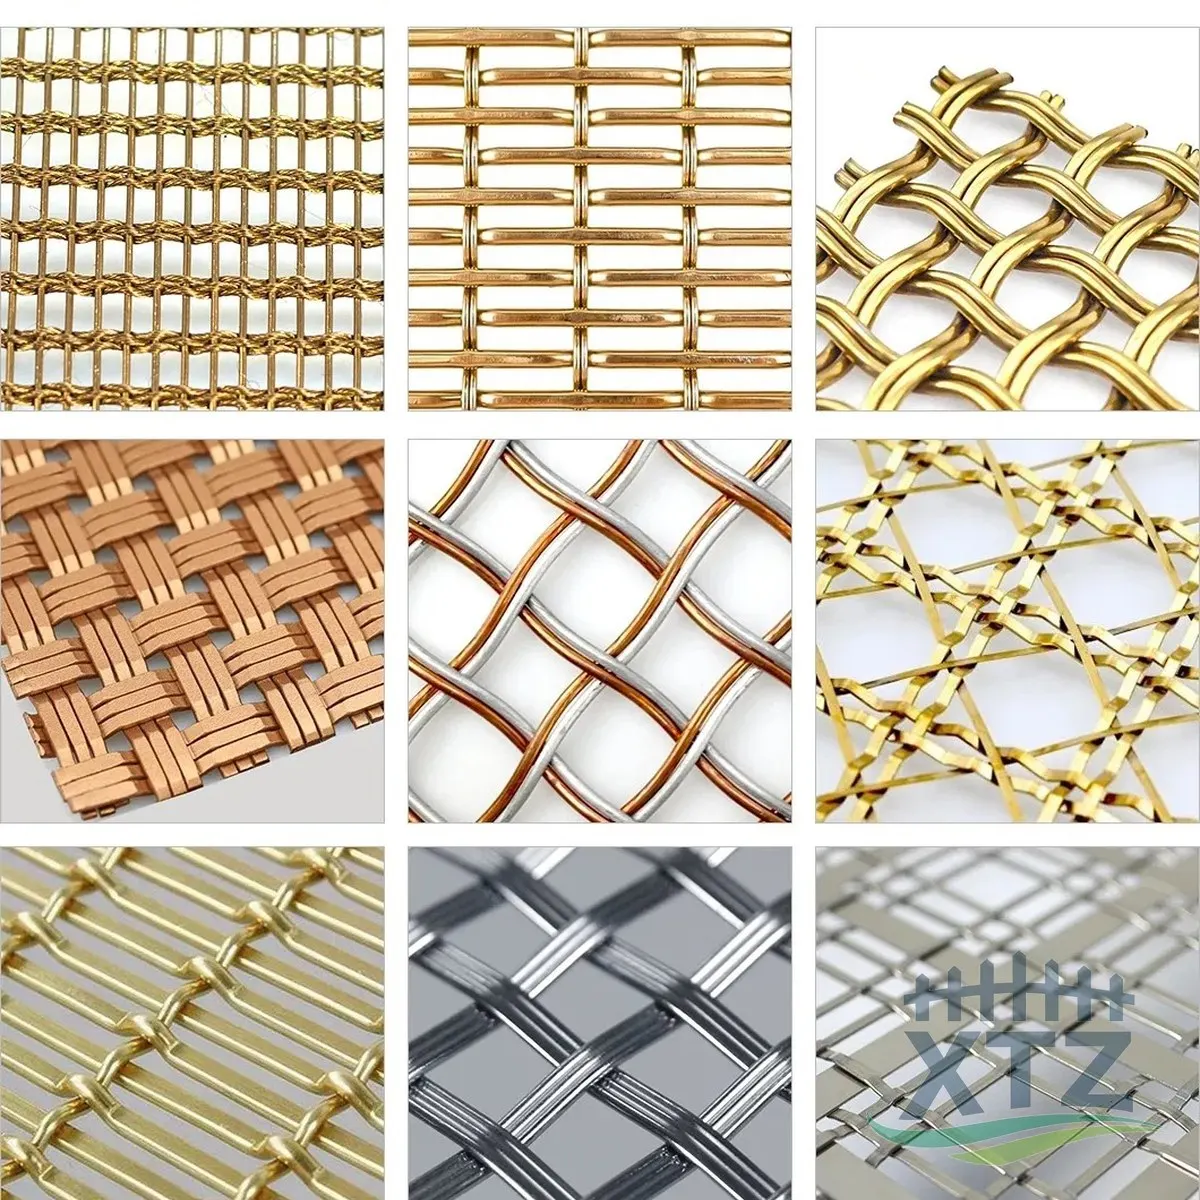
| Pattern characteristic | Visual effect to assess | Practical question |
|---|---|---|
| Regular square weave | Ordered grid with a clear repeat | Does the repeat align with neighboring panels? |
| Rectangular or directional weave | Stronger emphasis in one direction | Which direction should run vertically? |
| Crimped round wire | Visible depth at intersections | Is the profile compatible with the retaining recess? |
| Flat-wire or mixed-wire pattern | Wider reflective surfaces and a different rhythm | How does it look under the actual light source? |
| Dense weave | Greater visual coverage in the chosen view | Is visibility and ventilation still sufficient? |
| Open decorative structure | More visible background and larger pattern scale | Does the background support the intended appearance? |
The sample size matters. A small swatch can show color and wire shape, but it may not show the full repeat or a pattern's relationship to the frame. For a large partition, review a representative module before final approval.
Also identify the construction correctly. Linked rings, woven wire and expanded sheet can all be decorative metal mesh, but their cutting and supporting details differ. If regular pre-crimped wires are central to the design, review stainless steel crimped wire mesh. For a formed diamond surface, compare stainless steel expanded metal mesh.
Cabinet doors, partitions and screens: different priorities
| Application | Design goal | Mesh selection approach | Installation checks |
|---|---|---|---|
| Cabinet door | Texture with a controlled view of contents | Compare repeat scale, density and finish against the cabinet interior | Recess depth, overall cut size, retaining strips or clips, hinge clearance |
| Display cabinet | Keep objects visible | Test openness with the display lighting on | Shadow lines, glare and access for cleaning |
| Room partition | Define a zone without a solid wall | Review the pattern from both sides and typical approach angles | Frame stability, panel span, accessible edges and junctions |
| Lobby or feature screen | Create a visible surface and lighting effect | Compare direction and depth under the proposed lighting | Fixing visibility, joints, replacement access and lighting clearance |
| Equipment cabinet | Combine appearance with an air path | Confirm actual free area and any backing with the equipment requirements | Inlet/outlet layout, obstructions, service access and edge protection |
Specify cabinet door decorative wire mesh around the frame
Measure the visible aperture and the actual recess separately. The mesh insert normally needs a retaining allowance determined by the frame detail. There is no single allowance that works for every cabinet, wire thickness or fixing method.
Record the recess depth and the total space available for mesh plus retainer. A crimped panel may have substantially more overall depth than its wire diameter suggests. Check hinge arms, shelf positions and any fasteners that project into the cabinet.
Before cutting, mark the dominant wire direction and center the pattern where required. For a pair of doors, place samples side by side. Decide whether the repeat should mirror, continue or simply maintain the same orientation. Number panels against a door schedule when the sizes vary.
A routed recess with suitable retaining strips or tabs is one established approach for certain cabinet designs; an installation reference illustrates that arrangement. The actual recess and fixings must suit your frame and selected mesh, so avoid transferring another cabinet's dimensions directly to your drawings.
Mesh can allow air movement, but it will also allow dust through. A fabric, glass or other backing changes visibility, airflow and cleaning access. Include the backing in the mock-up and specification rather than adding it after the mesh is selected.
Plan partitions as complete panels
Where the design calls for a tensioned, open cable surface, flexible stainless steel mesh is another construction to evaluate. Confirm the installed geometry and perimeter support; it will not behave like a rigid woven cabinet insert.
For a partition, decide whether the mesh is a rigid insert or a flexible surface requiring tension. A loose swatch cannot establish the stiffness of a full-height assembly. Show the panel span, frame section and attachment points on the drawing.
Check both faces. Retaining bars that are hidden from a reception desk may be obvious from the corridor behind it. Exposed cut ends need an appropriate finish or enclosure, and the bottom edge should be coordinated with cleaning access and adjacent finishes.
Open mesh does not provide the acoustic separation of a solid wall. If sound control is part of the brief, define that requirement separately and assess the full construction. Likewise, a decorative divider should not be assumed to function as a protective barrier without the relevant assembly assessment.
Use lighting and backgrounds in sample approval
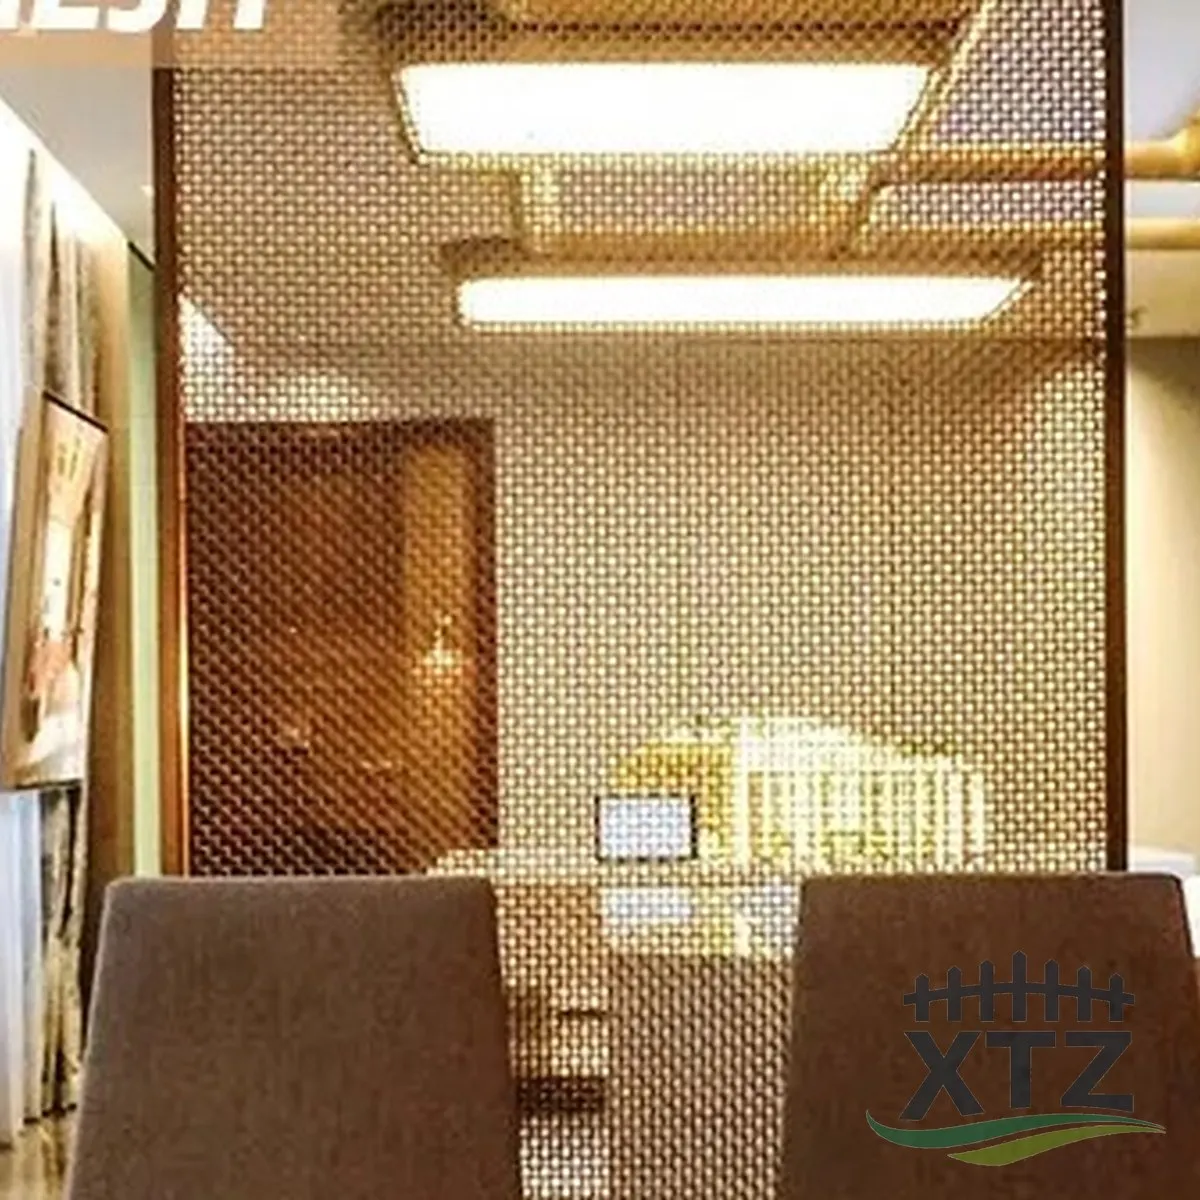
A bright background makes openings conspicuous. Light falling onto the wire brings the surface texture forward. A dark cabinet interior and a pale wall behind a room divider can therefore make the same pattern appear quite different.
Reflective finishes also change as the viewer moves. A finish that looks restrained under diffuse daylight may create distracting highlights beside a concentrated light source. Inspect the sample under the proposed lighting, including the evening condition where relevant.
For multiple layers, test the actual spacing and orientation. Overlapping grids can create visual interference patterns. This may be intentional, but it should be approved at full size before the second layer is ordered.
Approve material and finish as separate items
“Brass-colored” does not necessarily mean solid brass, and a silver appearance does not prove stainless steel. State the base material, the surface treatment and the approved color reference separately. Ask whether the finish is applied before or after cutting and fabrication.
Keep an approved physical sample with the project record. Agree the viewing conditions for color comparison, especially where the finish is directional or intentionally varied. Clarify the treatment of cut edges and the cleaning products suitable for the finish.
For humid or exposed locations, provide the environment and cleaning regime before confirming the alloy or coating. A finish selected for a dry interior should not automatically be carried into an outdoor kitchen or a coastal screen.
What to include in a decorative mesh enquiry
Send the application, pattern reference and finish sample along with a drawing of the frame. Include the overall insert dimensions, visible aperture, quantity, orientation and retaining detail. Identify whether the panels are viewed from one or both sides.
Ask the supplier to confirm maximum practical panel size for the chosen pattern, edge treatment, tolerances and the proposed supply form. Include a sample approval stage and request labels that match the door or panel schedule. If several rooms use different finishes, separate them clearly in the order.
XTZ can then review the enquiry against its decorative mesh product family. Keep the quotation tied to an approved reference; “similar to the photo” leaves too much unresolved for repeat production.
Frequently asked questions
Which decorative wire mesh works best for cabinet doors?
The best fit depends on the visible opening, frame depth and desired view of the contents. Compare pattern scale and finish on the actual cabinet, then check weight and retention. A sample approved on a white board may look different against dark shelves or with internal lighting switched on.
Can decorative wire mesh provide privacy?
It can reduce visibility in some conditions, but the effect changes with angle, opening, lighting and background. Test the panel from the actual viewing positions and with lights on both sides. If consistent privacy is required, review a suitable backing or another construction as part of the design.
Can I cut the mesh to size on site?
Some products can be cut during fabrication, but the tools and edge treatment depend on the material, wire size and construction. Cutting can disturb edge wires or damage a finish. Ask for the appropriate method, secure the work properly and approve the finished edge before repeating the operation across multiple panels.
How do I prevent rattling in a cabinet insert?
Use a retaining detail suited to the mesh and frame, with appropriate contact and clearance. Check a working sample door before production. A panel should be secure without being distorted by excessive clamping. Any cushioning or backing should be compatible with the finish and the cabinet's intended use.
Does decorative mesh need a frame?
Some systems use frames; others use cables, bars or proprietary supports. The correct arrangement depends on the construction and panel size. Even when the border looks minimal, the mesh still needs a defined load path and secure edges. Specify the support together with the mesh rather than leaving it to installation day.
Send XTZ Fence your pattern reference, finish preference, panel schedule and frame section. Include a photograph or drawing of the surrounding interior so the sample review can address the finished appearance as well as the dimensions.