A vent screen keeps selected pests and debris out of an opening while allowing air to pass. Choose it by the vent’s purpose, clear opening, wire diameter, corrosion exposure and cleaning access. Foundation, attic and soffit screens need different checks from appliance terminations. Adding finer mesh can reduce airflow and make a working vent unsafe.
Match the vent screen to its job
Start by identifying what the opening serves. A grille in a wall may ventilate a crawl space, supply combustion air or discharge a clothes dryer. Its position and appearance do not tell you which screen is suitable.
| Opening or search term | What the screen must accommodate | What to check before replacement |
|---|---|---|
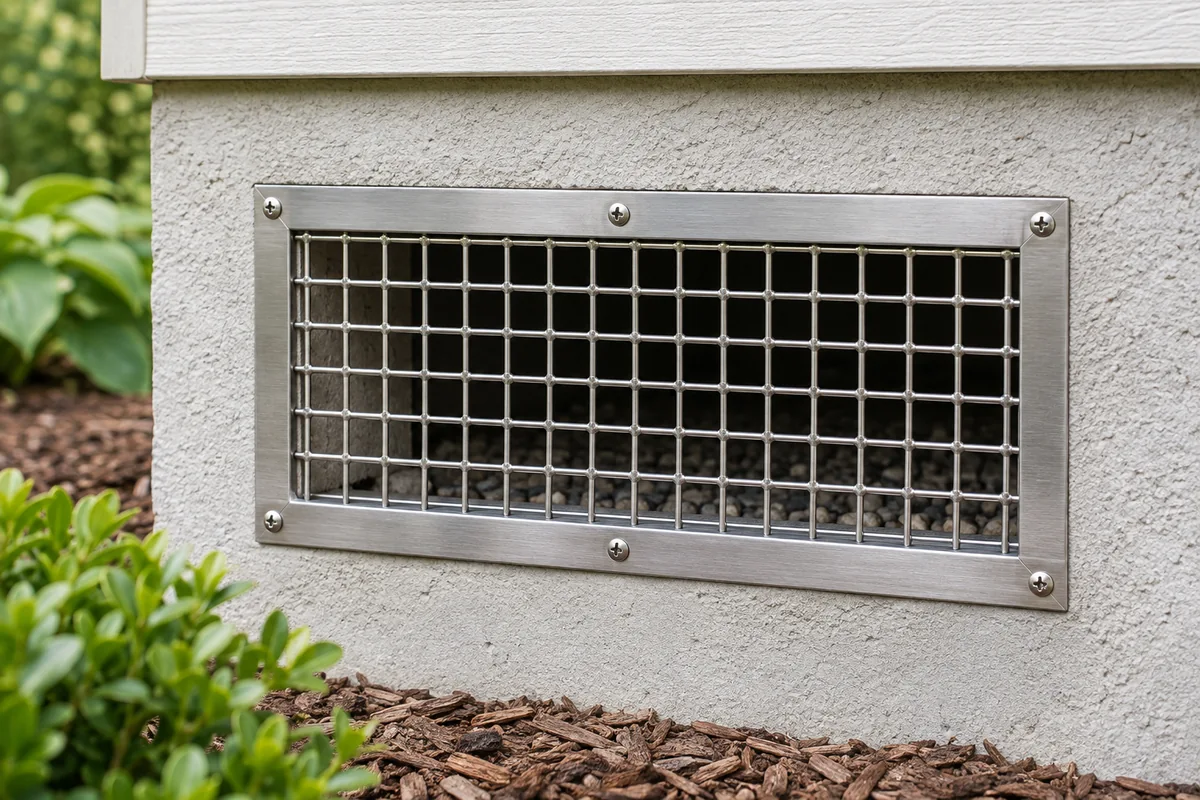
| Foundation vent screen | Air passage and resistance to animal entry | Whether the crawl space is designed to be vented; required free area; ground moisture and splash exposure |
| Gable or attic vent screen | Ventilation behind a weather-resistant louver | Attachment, rain detailing, wind exposure and access for cleaning |
| Soffit vent screen or under-eave screen | Air entry along the roof edge | Unobstructed air path behind the screen, including insulation baffles where applicable |
| Mechanical air intake | Specified airflow with an acceptable pressure loss | Equipment instructions, screen specification and icing or debris risk |
| Dryer vent screen | Safe discharge of lint-laden exhaust | Use the specified exhaust termination; do not add mesh over the outlet |
A crawl space screen vent is appropriate only when the building design calls for outside ventilation. A sealed, conditioned crawl space follows a different moisture-control approach. Reopening its sealed vents can undermine that approach.[3]
A flood vent also has a separate job: it must allow floodwater to enter and leave as designed. An ordinary pest screen is not a substitute for an engineered flood-opening assembly, and an added layer may collect debris or obstruct its operation.[4]
Opening size and free area must be considered together
Smaller openings exclude smaller pests, but opening size alone does not describe how freely air passes. Wire thickness, the supporting frame, louvers and accumulated dirt all occupy part of the available opening.
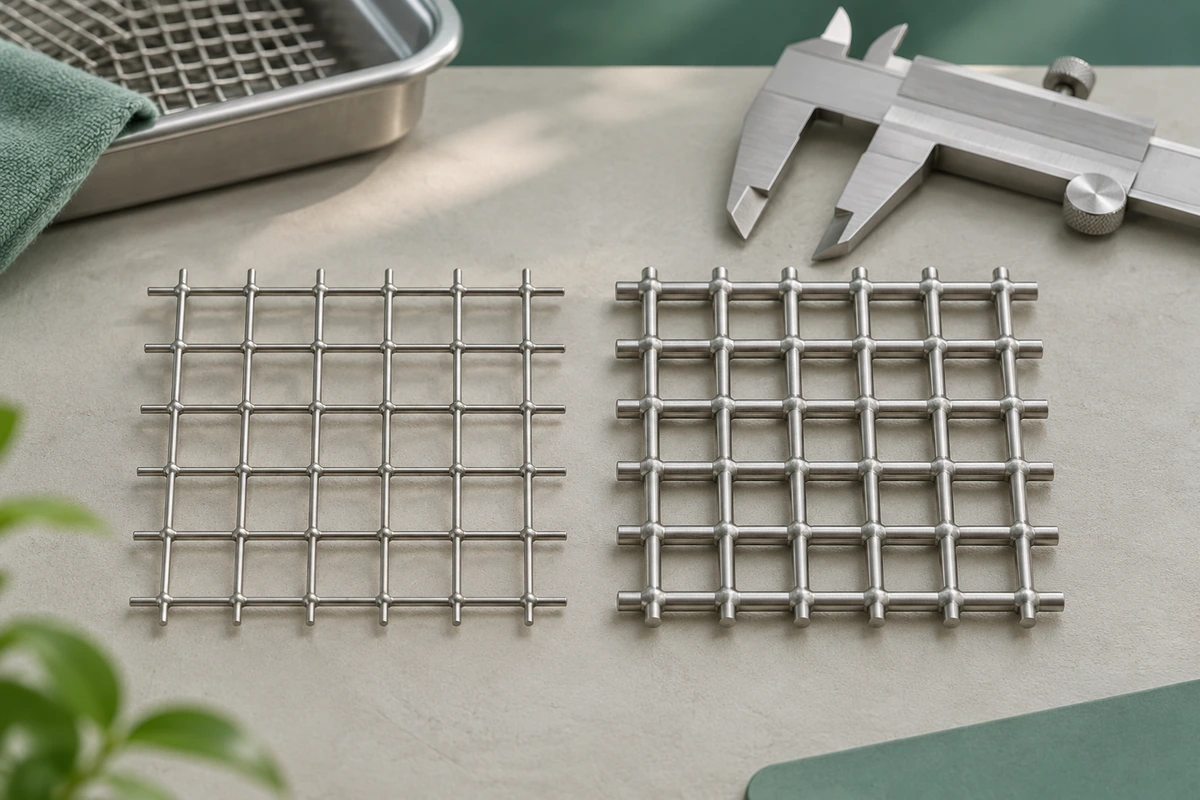
Specify the clear opening, measured between adjacent wires, separately from wire diameter. A nominal 1/4-inch opening equals 6.35 mm; that is a dimensional conversion, not a claim that the opening suits every pest. Fine insect screening and heavier animal-resistant mesh solve different problems. Identify the target pest before choosing between them.
For a simple square mesh made with round wire, an approximate geometric open-area calculation is:
Open area (%) = [clear opening ÷ (clear opening + wire diameter)]² × 100
For example, a hypothetical mesh with 6.0 mm clear openings and 1.0 mm wires has about 73.5% geometric open area. Increasing the wire to 1.5 mm while retaining the same opening reduces that figure to 64.0%. Neither figure is a measured airflow rating or the net free area of a finished louver assembly.
Where a ventilation design specifies net free area, use the complete vent manufacturer’s declared value. Where a fan or air handler is involved, check pressure loss at the operating airflow. A high open-area percentage cannot, by itself, establish that a screen will work with the equipment. PNNL also warns that small screens can collect dust or freeze over.[1]
When a drawing mixes mesh count, aperture and spacing, resolve the dimensions before ordering. The guide to wire mesh sizes explains how those measurements differ.
Choose the material and mesh construction for the location
For an exposed vent, the wire, frame and fasteners should tolerate the same environment. Replacing a corroded screen while retaining a failing frame leaves the assembly vulnerable at its edges.
| Material or form | Useful characteristics | Selection limit |
|---|---|---|
| Stainless steel welded mesh | Fixed wire intersections and a regular grid; suitable for supported protective screens | Confirm opening, wire diameter, weld quality, alloy and edge retention |
| Stainless steel woven mesh | Interlaced wires with a broad range of opening and wire combinations | Fine cloth may need backing or a retaining frame; cut edges can fray |
| Galvanized steel mesh | A zinc coating protects the underlying steel | Inspect cut edges, coating damage and compatibility with the exposure |
| Aluminum screen | Low weight and easy handling | A light insect screen should not be assumed to resist animal damage |
| Perforated stainless sheet | Punched openings in a continuous sheet, with defined margins for fixing | Hole diameter, pitch and sheet thickness affect open area and stiffness |
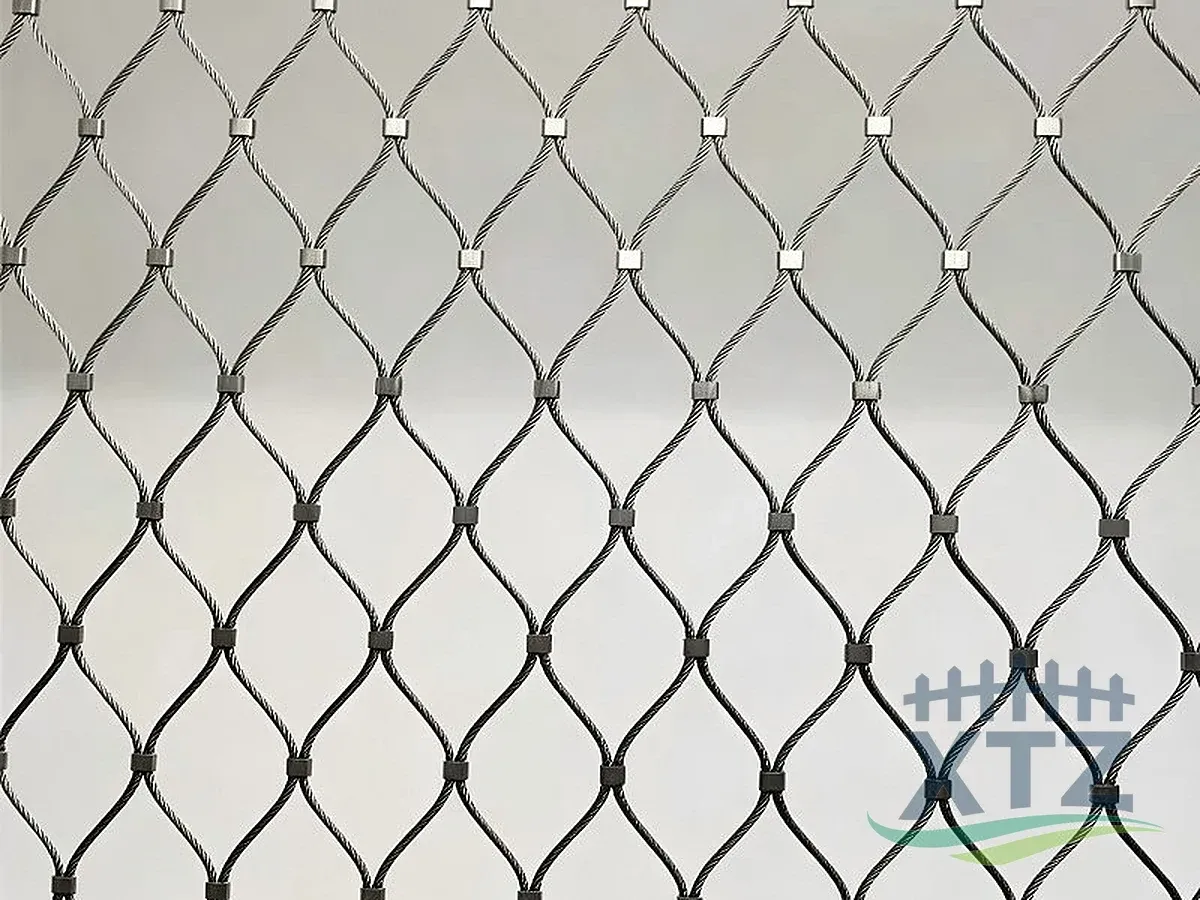
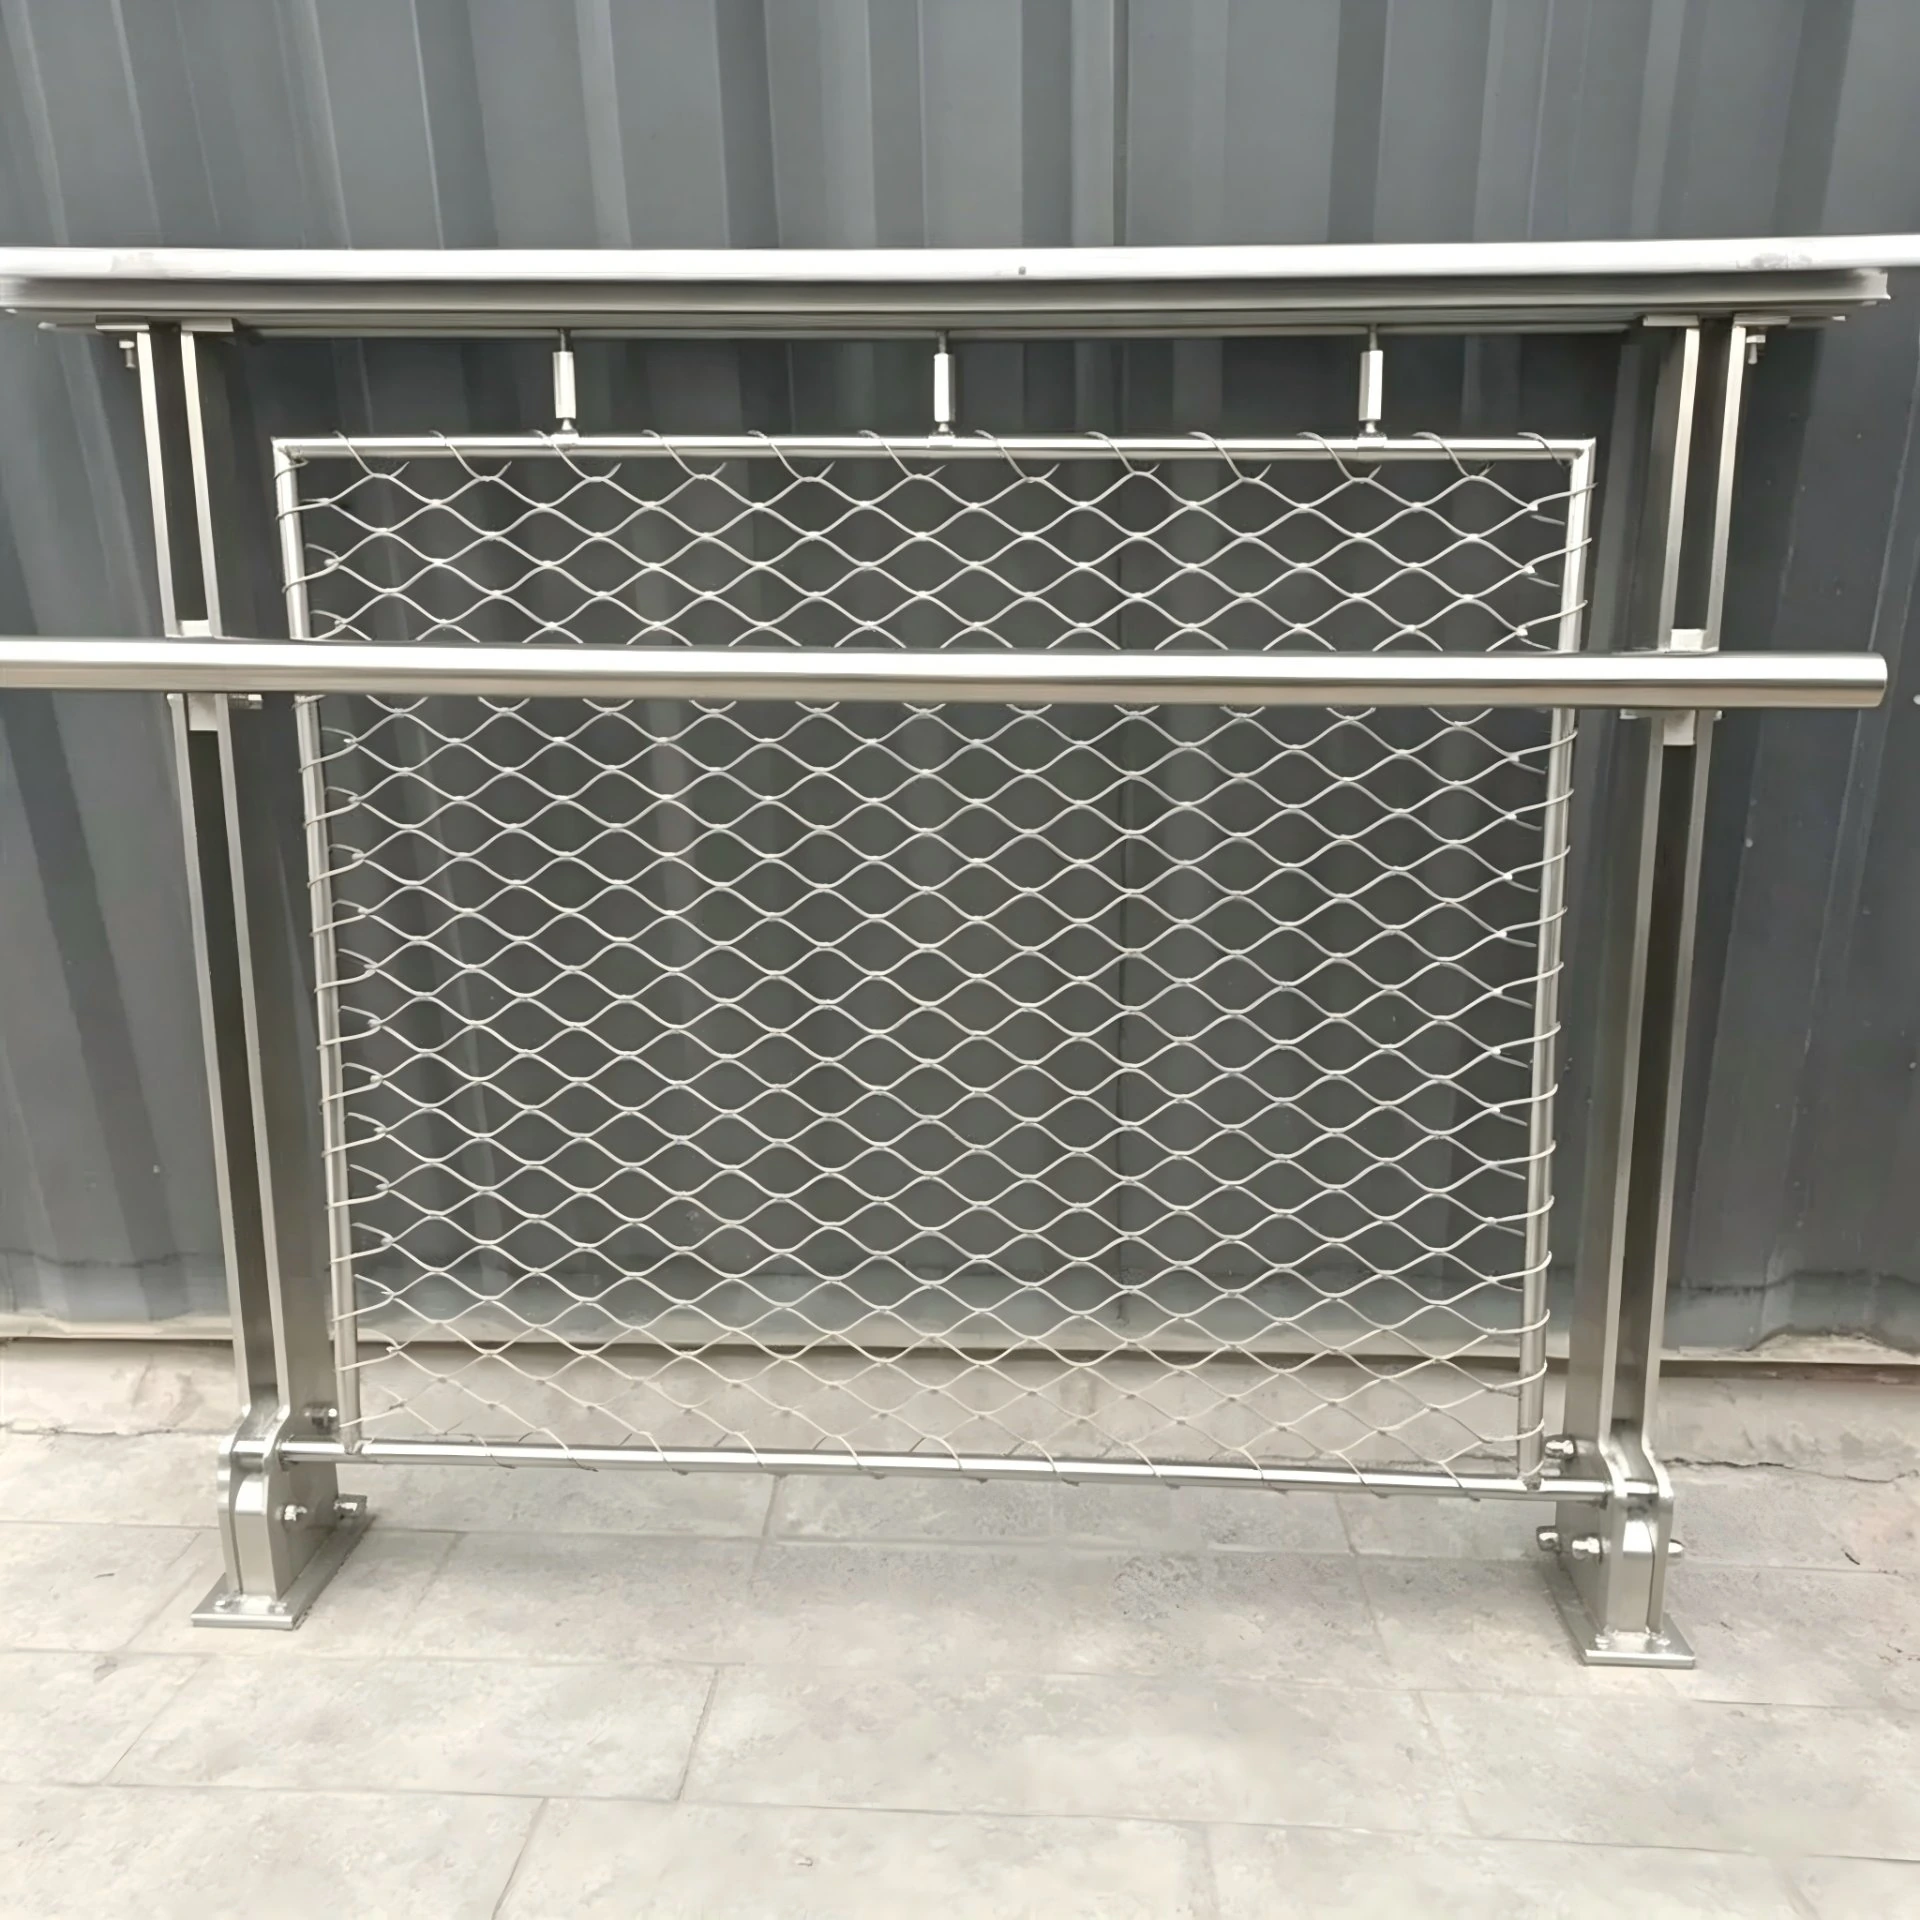
XTZ Fence’s stainless steel welded wire mesh is one product route for a framed protective screen. For an interlaced construction, compare stainless steel woven wire mesh. Request the required aperture and support details with the quotation, rather than relying on the product family name.
Where the design calls for a punched panel, a stainless steel ventilation panel can be considered separately. A perforated sheet and a woven screen with similar-looking holes can have different free areas, edge details and resistance to deformation.
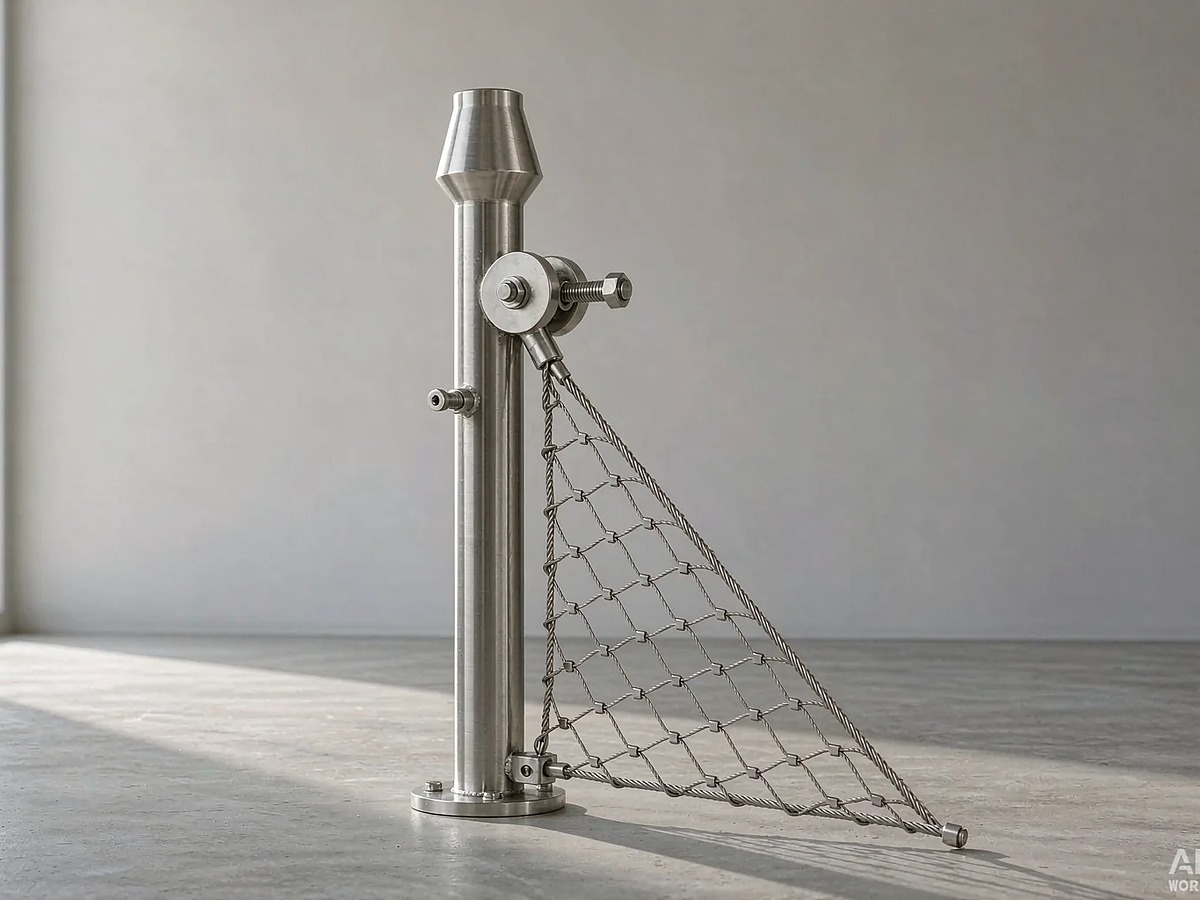
In an aviary project, a stainless steel rope mesh fence may form the framed enclosure boundary, while stainless steel cable mesh supplies flexible netting for custom infill. Specify screened ventilation openings separately, using the pest aperture and airflow requirements for those openings. An enclosure’s cable-net opening should not be assumed to provide fine insect screening.
Alloy choice deserves particular attention near salt spray, pools or chemical cleaning. Grade 316 can be considered for more demanding chloride exposure, but it still needs suitable fabrication and maintenance. Confirm the alloy and finish for the actual site; avoid accepting “rustproof” as a complete specification.
Measure and replace a vent screen without creating edge gaps
Measure the mounting recess and retaining arrangement as well as the visible hole. The replacement must remain secure around its entire perimeter without interfering with a damper or reducing the required vent area.
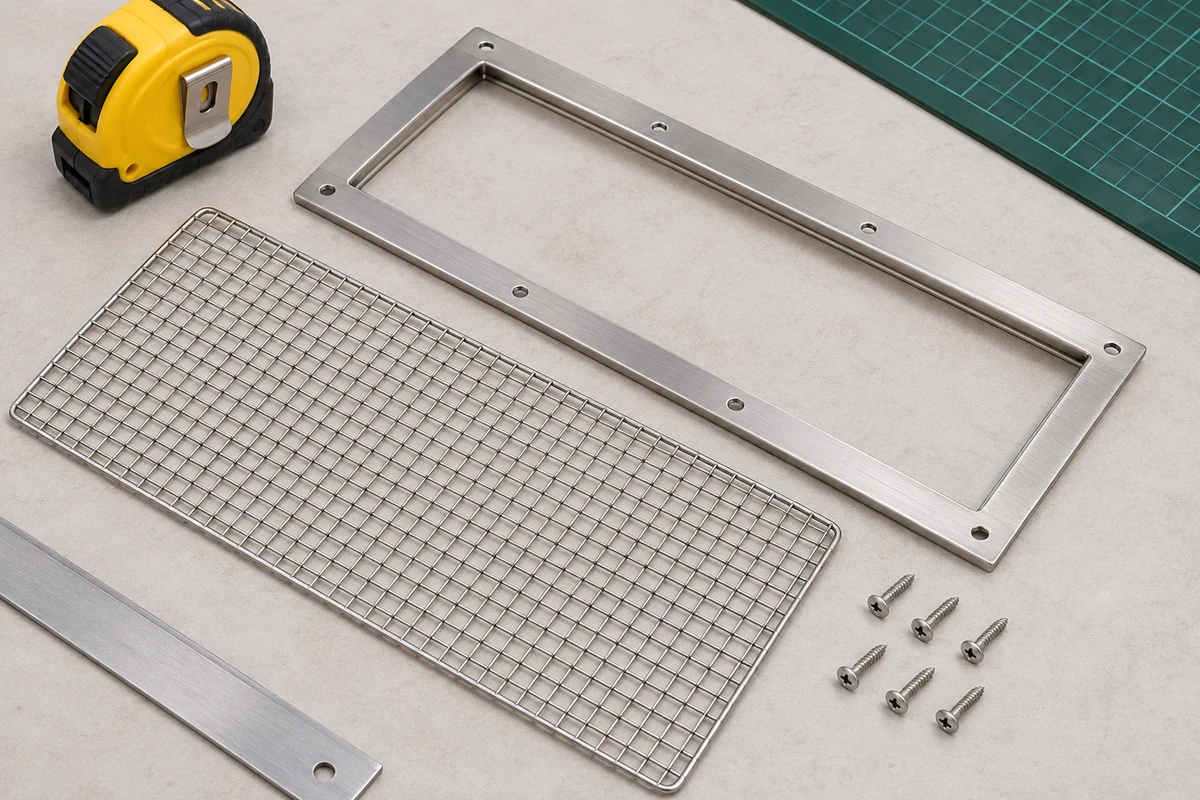
- Identify the vent and read its installation instructions. Stop if the opening serves an appliance or a specialized flood or fire-protection assembly that requires an approved replacement.
- Record the clear opening, frame outside dimensions, fixing centers and available recess depth. Measure in more than one place if the surround is distorted.
- Check the existing frame, substrate and nearby flashing. Repair loose or deteriorated supports before fitting new mesh.
- Allow for the specified clamping margin. Capture cut wire ends within a frame or edge treatment suitable for the application.
- Secure the perimeter using the designed mechanical retention. Do not leave lifted corners, loose overlaps or unprotected cut edges.
- Confirm that the vent remains clear and that any moving parts operate freely. Keep a way to remove or reach the screen for cleaning.
Do not seal over drainage paths while closing pest-entry gaps. Adhesive strips or magnets may be convenient for some removable indoor covers, but their holding force and supporting surface need assessment. They should not be assumed to provide permanent exterior animal exclusion.
Dryer, combustion and wildfire vents need separate decisions
Do not fit ordinary mesh over a clothes dryer exhaust outlet. Lint can accumulate on it and restrict discharge. PNNL’s dryer-vent guidance calls for a suitable damper at the termination and expressly excludes screening there.[2] The dryer’s internal lint filter remains part of normal operation; it is a different component.
For furnace, boiler or water-heater intakes and exhausts, use the appliance manufacturer’s requirements. A generic mesh cut to fit the pipe can change restriction, collect condensate or ice over. A screen sold for one appliance arrangement is not evidence of compatibility with another.
In wildfire-prone locations, select a vent assembly accepted for the project’s ember and flame exposure requirements. A stainless mesh sample, a small aperture or a high melting point does not establish that the complete vent has passed the relevant tests. Keep that selection with the building designer and applicable local requirements.
Plan cleaning access before specifying the screen
A screen that cannot be reached is difficult to maintain. Locate removable panels and fixings where the owner can inspect both the mesh and the space behind it without damaging the wall or soffit.
Check for lint, leaves, insect nests, dust, corrosion, broken wires and loose edges. The interval depends on the site: a sheltered opening beside vegetation may need attention sooner than an accessible opening in a clean location. Inspect after storms or nearby construction, and investigate recurring blockage instead of simply fitting a coarser screen.
For an XTZ Fence mesh enquiry, send the vent’s function, frame drawing, clear opening, wire diameter, alloy, finish, quantity and exposure conditions. Include any required airflow or net-free-area documentation. Those details let the mesh specification be assessed alongside the finished vent design.
Vent screen questions
What mesh size should a foundation vent screen use?
Choose the clear opening for the target pest and the ventilation requirement together. A quarter-inch nominal opening is commonly discussed for small-animal exclusion, while insects may require finer screening. Neither choice is automatic. Check the complete assembly’s free area, the strength of its attachment and whether the crawl space is intended to be vented.
Can I put window insect screen over an attic vent?
Only after checking the vent design, attachment and remaining ventilation capacity. Window insect cloth can reduce the opening available for air and may lack the stiffness needed to resist animals. A supported replacement panel with declared dimensions is easier to assess than an extra loose layer fitted behind an existing louver.
Is a dryer vent screen safe?
Ordinary mesh should not be added to the exhaust termination because it can trap lint. Use the termination specified for the dryer and applicable installation requirements, with its damper operating freely. Clean the internal lint filter as instructed and have a restricted or damaged exhaust system checked. An internal lint filter and an exterior pest screen have different functions.[2]
Does stainless steel vent mesh prevent all corrosion?
No. Stainless performance depends on alloy, contamination, finish and exposure. Salt deposits, trapped moisture and unsuitable cleaning chemicals can cause staining or more serious attack. Include the frame and fasteners in the material review, and provide access for washing and inspection. Selecting a more resistant alloy does not remove the need to maintain the assembly.
Can I install a screen behind a soffit vent?
A screen may form part of the designed soffit assembly, provided it is securely retained and leaves the required air path open. Check how the mesh interacts with the louver, insulation and roof ventilation design. Adding a second layer to an existing screened vent can increase restriction and create a place for debris to collect.
Does vent screen mesh work as an air filter?
A protective mesh primarily blocks objects larger than its openings. It should not be assigned a fine-particle filtration rating without appropriate testing. Mechanical ventilation systems may need a separate specified filter and allowance for pressure loss. Choose that filter and its maintenance arrangement with the equipment requirements, rather than replacing it with a visually similar metal screen.
Technical sources
- PNNL: Screens and Other Deterrents for Birds, Rodents, and Other Pests (pest screening, attachment and airflow cautions).
- PNNL: Proper Clothes Dryer Venting (dryer exhaust termination).
- PNNL: Unvented, Insulated Crawlspaces (sealed crawl-space construction).
- PNNL: Flood-Resistant Crawlspace Foundations (flood-opening function).