Rodent wire mesh is a metal barrier used to close potential entry points around buildings while allowing ventilation where required. Choose it by the target animal, actual clear opening, wire dimensions, corrosion exposure and attachment detail. The finished installation must also close edge gaps and preserve the function of the opening it protects.
What size wire mesh keeps mice and rats out?
For mouse exclusion, quarter-inch-class mesh or smaller is a common starting point. Check the actual clear opening and the installed perimeter. The CDC notes that mice can enter a hole about a quarter inch, or 6 mm, across. [1] A mesh name alone cannot establish the completed barrier’s suitability.
| Situation | Selection approach | Additional check |
|---|---|---|
| Mice may be present | Use the smaller opening requirement appropriate to mice, commonly quarter-inch class or smaller | Confirm clear opening, wire strength and every perimeter gap |
| Rat exclusion only | Published guidance includes heavier welded half-inch mesh for some applications | Confirm the target species and whether mice could also use the entry |
| Both rats and mice | Combine an opening suitable for mice with construction suitable for the rat exposure | A small opening made with very fine wire may still be unsuitable |
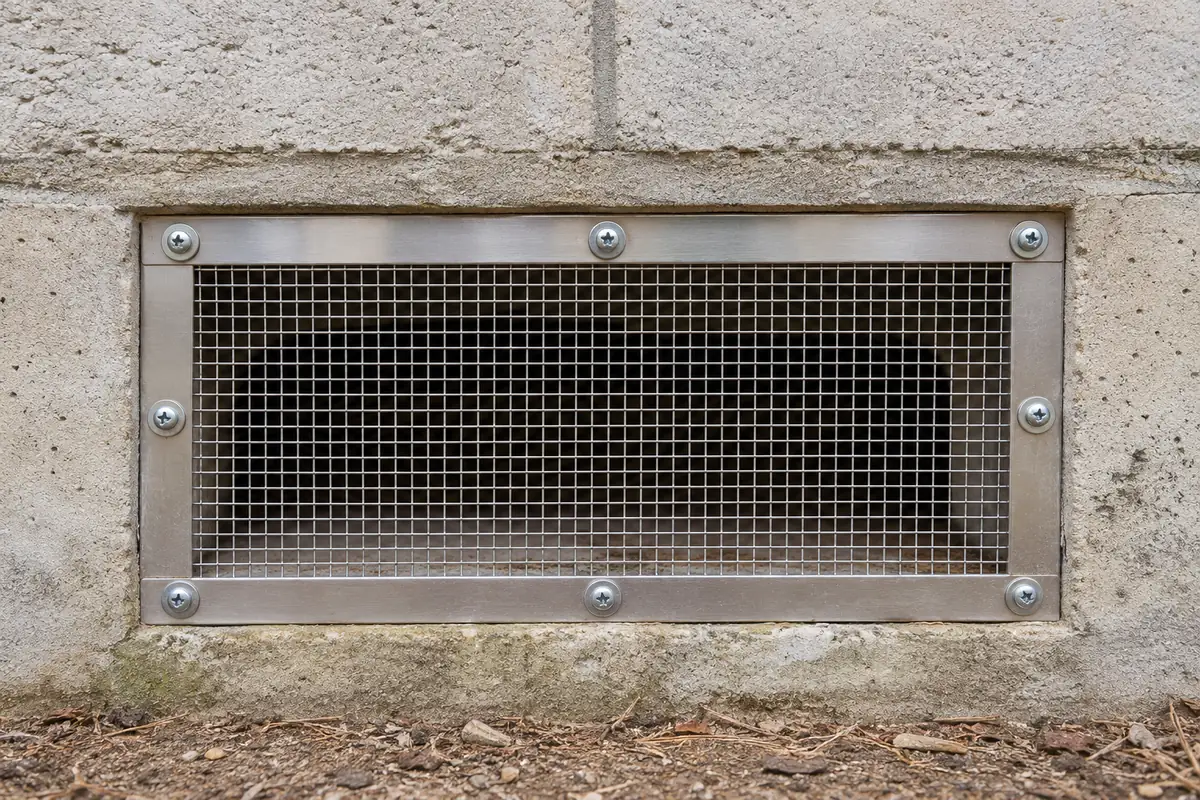
| Ventilation opening | Choose a securely retained screen compatible with the ventilation design | Required airflow, debris buildup and maintenance access |
| Gap around a service penetration | Consider a retained metal barrier or a compatible mesh-and-sealant detail | Movement, weather sealing and any fire-resistance requirement |
The National Park Service manual gives a specific example of 16- to 19-gauge, half-inch welded galvanized mesh for larger animals or aggressive rats. [2] That example does not establish a universal wire specification for mice, stainless products or every building detail. Confirm the actual diameter and construction with the supplier.
If both rodents are plausible, choosing the larger rat-oriented opening can leave a mouse entry route. Identify the smaller target animal first, then resolve the wire and installation requirements.
Clear opening, mesh count and wire diameter need separate checks
Ask for the free space between the wires. A quarter-inch description can refer to a nominal product family or a spacing convention, so obtain the supplier’s drawing or measured opening. Include both directions for rectangular mesh.
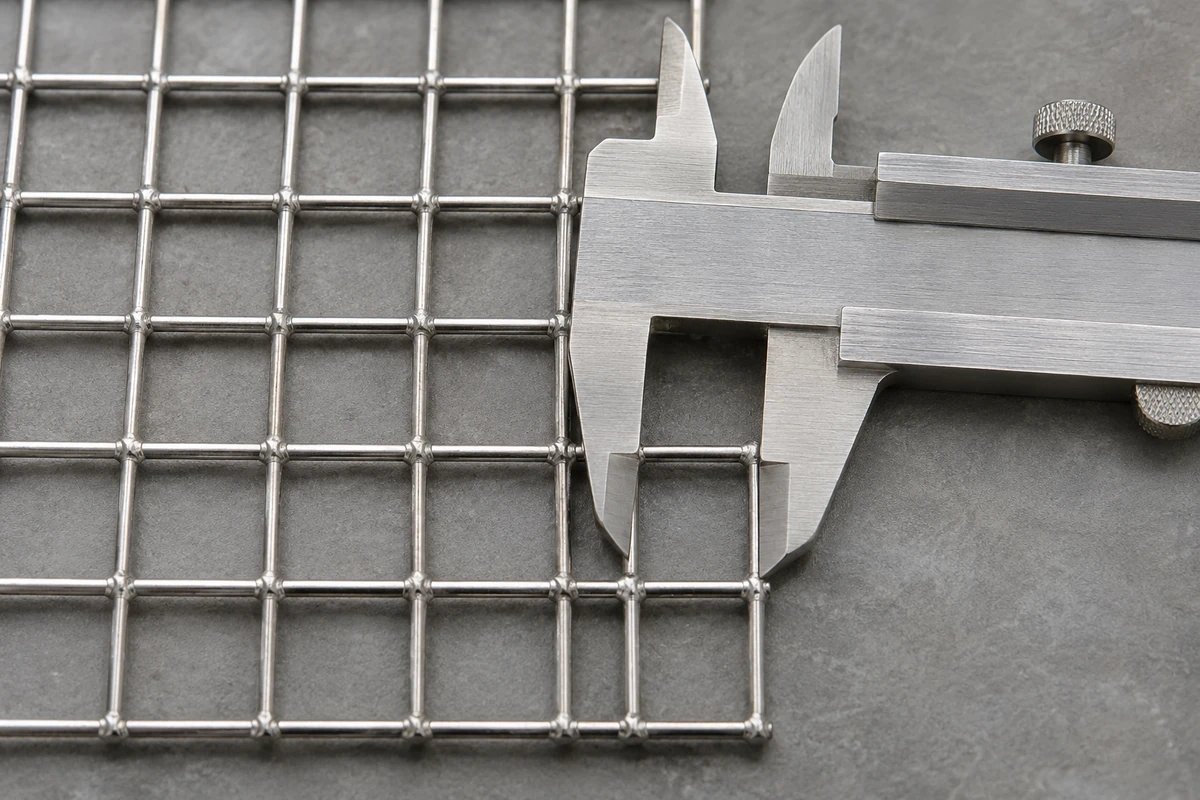
For a regular square grid specified by openings per inch, the approximate clear opening in millimeters is 25.4 divided by mesh count, minus wire diameter. For example, a hypothetical 4-mesh grid made with 1.00 mm wire has a 5.35 mm opening. This calculation describes the grid geometry and does not establish resistance to gnawing or pulling.
The mesh aperture calculator guide explains this distinction. Ask the supplier to confirm how its stated aperture is measured, what tolerances apply and how the mesh will look after cutting and fixing.
Wire diameter deserves equal attention. A fine insect-screen weave and a heavier exclusion mesh can have similar-looking holes in photographs. Assess the specified wire and intersections, then consider whether the perimeter can be lifted or the mesh distorted in the proposed location.
Welded mesh, woven mesh and packing mesh serve different details
Welded mesh holds crossing wires together at joined intersections. It is often convenient for flat vent screens and fabricated panels. Check the wire diameter, opening and weld condition, along with the frame that will retain the cut sheet.
Woven cloth can also be specified for an appropriate screen detail. Its cut edges need suitable retention. When considering plain weave wire mesh, check the actual wire dimensions and edge behavior instead of assuming that a dense-looking weave is sufficiently robust.
Knitted or wool-like metal packing is a different product form. It can conform to an irregular gap, while a flat panel covers a defined opening. The Department of Energy’s Building America guidance includes copper or stainless mesh combined with compatible sealing materials around suitable penetrations. [3] Specify how the packing is retained and how weather sealing is achieved.
A sealant bead and a rigid mesh screen also have different jobs. The sealant addresses a suitable gap or joint, while the metal detail provides the selected physical barrier. For a moving joint, use a detail that accommodates movement. Fire-rated penetrations need a compliant firestop system specified for that construction.
Should you choose stainless steel or galvanized rodent mesh?
Both materials appear in exclusion guidance and product ranges. Choose for the actual environment and construction, then confirm the specification for the mesh, retaining strips and fasteners.
| Material choice | What to assess | What to request |
|---|---|---|
| Galvanized steel | The zinc coating, fabrication sequence and condition at welds and cuts | Coating specification and treatment of fabricated edges |
| Stainless steel | Alloy selection for dampness, salts, cleaning chemicals and retained debris | Grade, wire diameter, surface condition and required material records |
| Mixed-material assembly | Exposure and compatibility at contact points | A complete mesh, frame and fixing specification |
XTZ Fence’s stainless steel wire mesh for industrial use covers material and project supply forms that can be discussed for a designed exclusion detail. Request the required opening, wire dimensions and cut sizes. A broad mesh product description does not establish a rodent-resistance test result.
For a long run of vents, calculate the full cost of the finished work. Cutting, retaining frames, fasteners and future access may account for a substantial part of the installation. Compare quotations against the same detail and maintenance requirements.
Survey the building before covering individual holes
Map likely access routes around the foundation, service entries, door bottoms, soffits and roof junctions. The CDC recommends inspecting both inside and outside a building for openings. [1] A repaired ground-level vent can leave an elevated route untouched.
Confirm whether animals are already inside before permanently closing active entry points. University of Nebraska guidance warns against sealing an opening before the animal has been identified and a control plan established. [4] A pest-management professional can coordinate removal, exclusion and monitoring where needed.
Separate the surveyed openings into those that can be sealed, those that must ventilate and those requiring periodic access. Give each location a reference and photograph. Note the substrate condition, because fixings into sound masonry require a different arrangement from a thin or damaged vent surround.
Exclusion also needs housekeeping and follow-up. Food storage, waste, vegetation and new building defects can affect reinfestation risk. The same Nebraska guidance places rodent-proof construction within an integrated program and warns that rodents can find new routes or be carried into a building. [4]
Install rodent mesh with secure, accessible edges
Size the screen so its perimeter can be securely retained on the intended support. Show the overlap or frame engagement on the detail. The required fixing type and spacing depend on the substrate, frame, exposure and mesh construction.
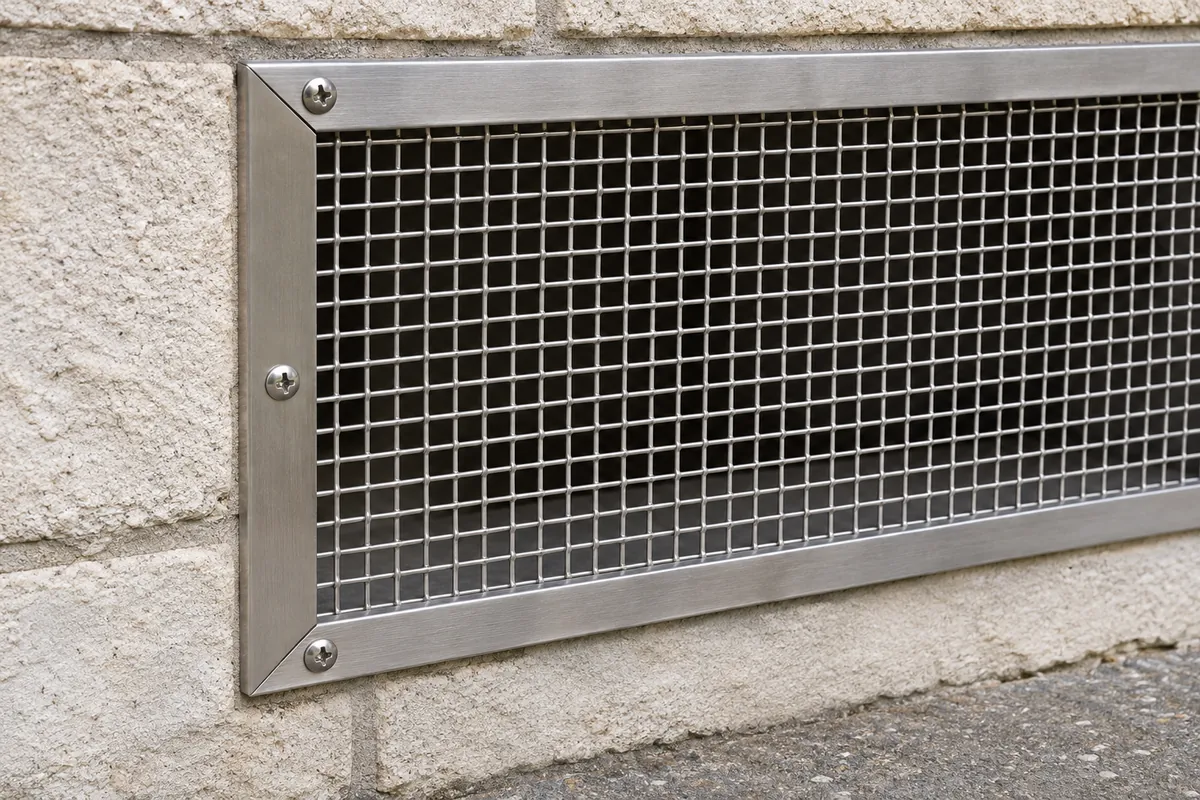
A retaining strip can distribute clamping along a cut edge. Check corners and any joints between pieces, where an apparently complete screen may leave an opening. Cover sharp wire ends, and confirm that the fixing arrangement prevents the panel from lifting away from the surround.
Cornell’s exclusion guidance discusses the selection of durable barrier materials and secure attachment. [5] For a repeatedly opened access point, a framed removable panel may be easier to inspect and maintain than a patch that must be pulled apart each time.
Before signing off, inspect the entire perimeter from the accessible sides. Record the largest openings, including gaps beside fittings. Check that fasteners engage the support properly and that operating parts can still move. Take photographs for the maintenance record.
Preserve ventilation, drainage and equipment operation
A screened vent needs to deliver the airflow its design requires. Smaller holes, thicker wire and accumulated debris can reduce its free area. Geometric open-area percentage is useful for comparison, but it does not establish airflow through the complete vent assembly.
Building America guidance warns that vent modifications can reduce ventilation and create fire risks, particularly at dryer exhausts, and directs readers to check equipment requirements before modification. [3] Do not fit a generic fine-mesh cover across a dryer exhaust, flue or combustion-related opening without the appropriate approved design. Use a compatible termination or exclusion solution specified for the equipment.
Weep holes and drainage openings need to keep draining. Select a purpose-designed detail where required, and check for clogging during maintenance. Plan access for removing leaves, lint or other debris from screens that are permitted in the proposed location.
Cable mesh for larger enclosure projects
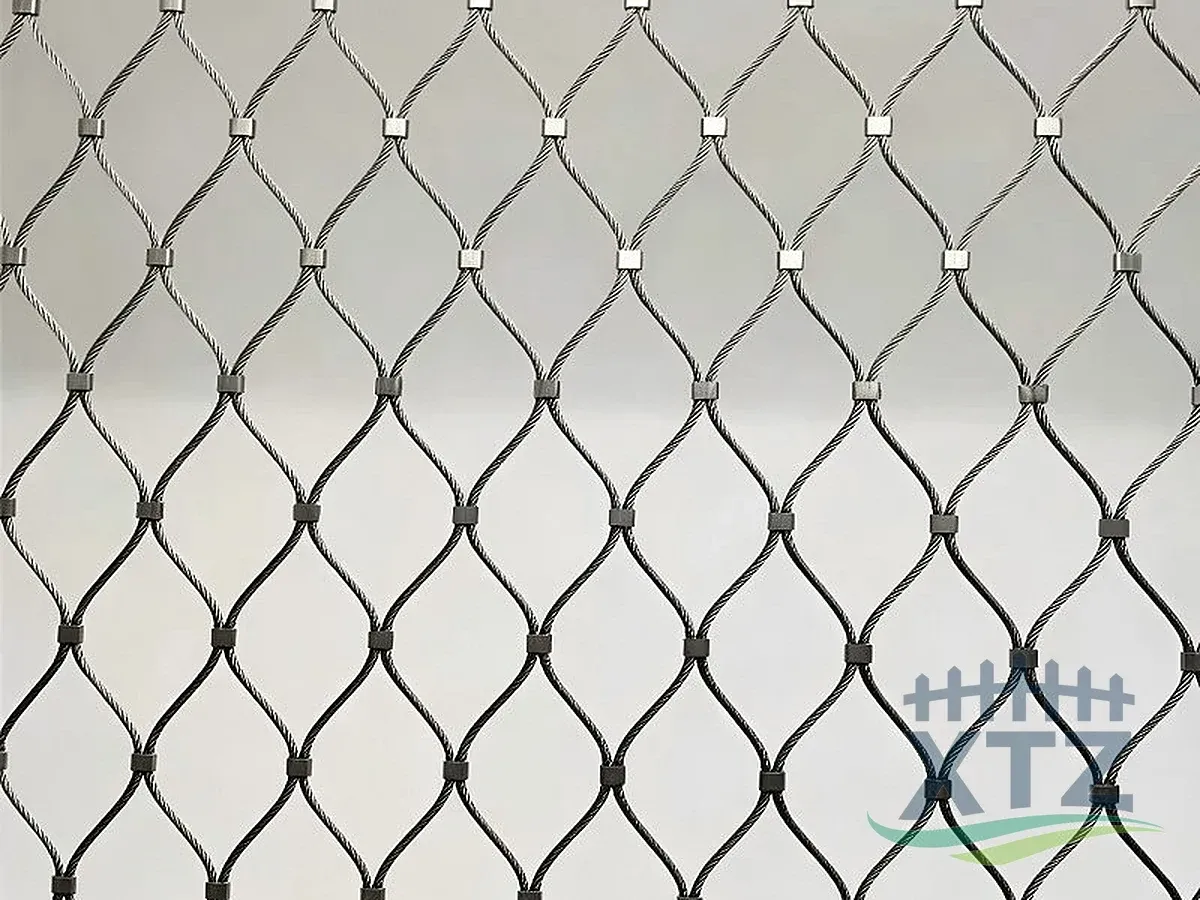
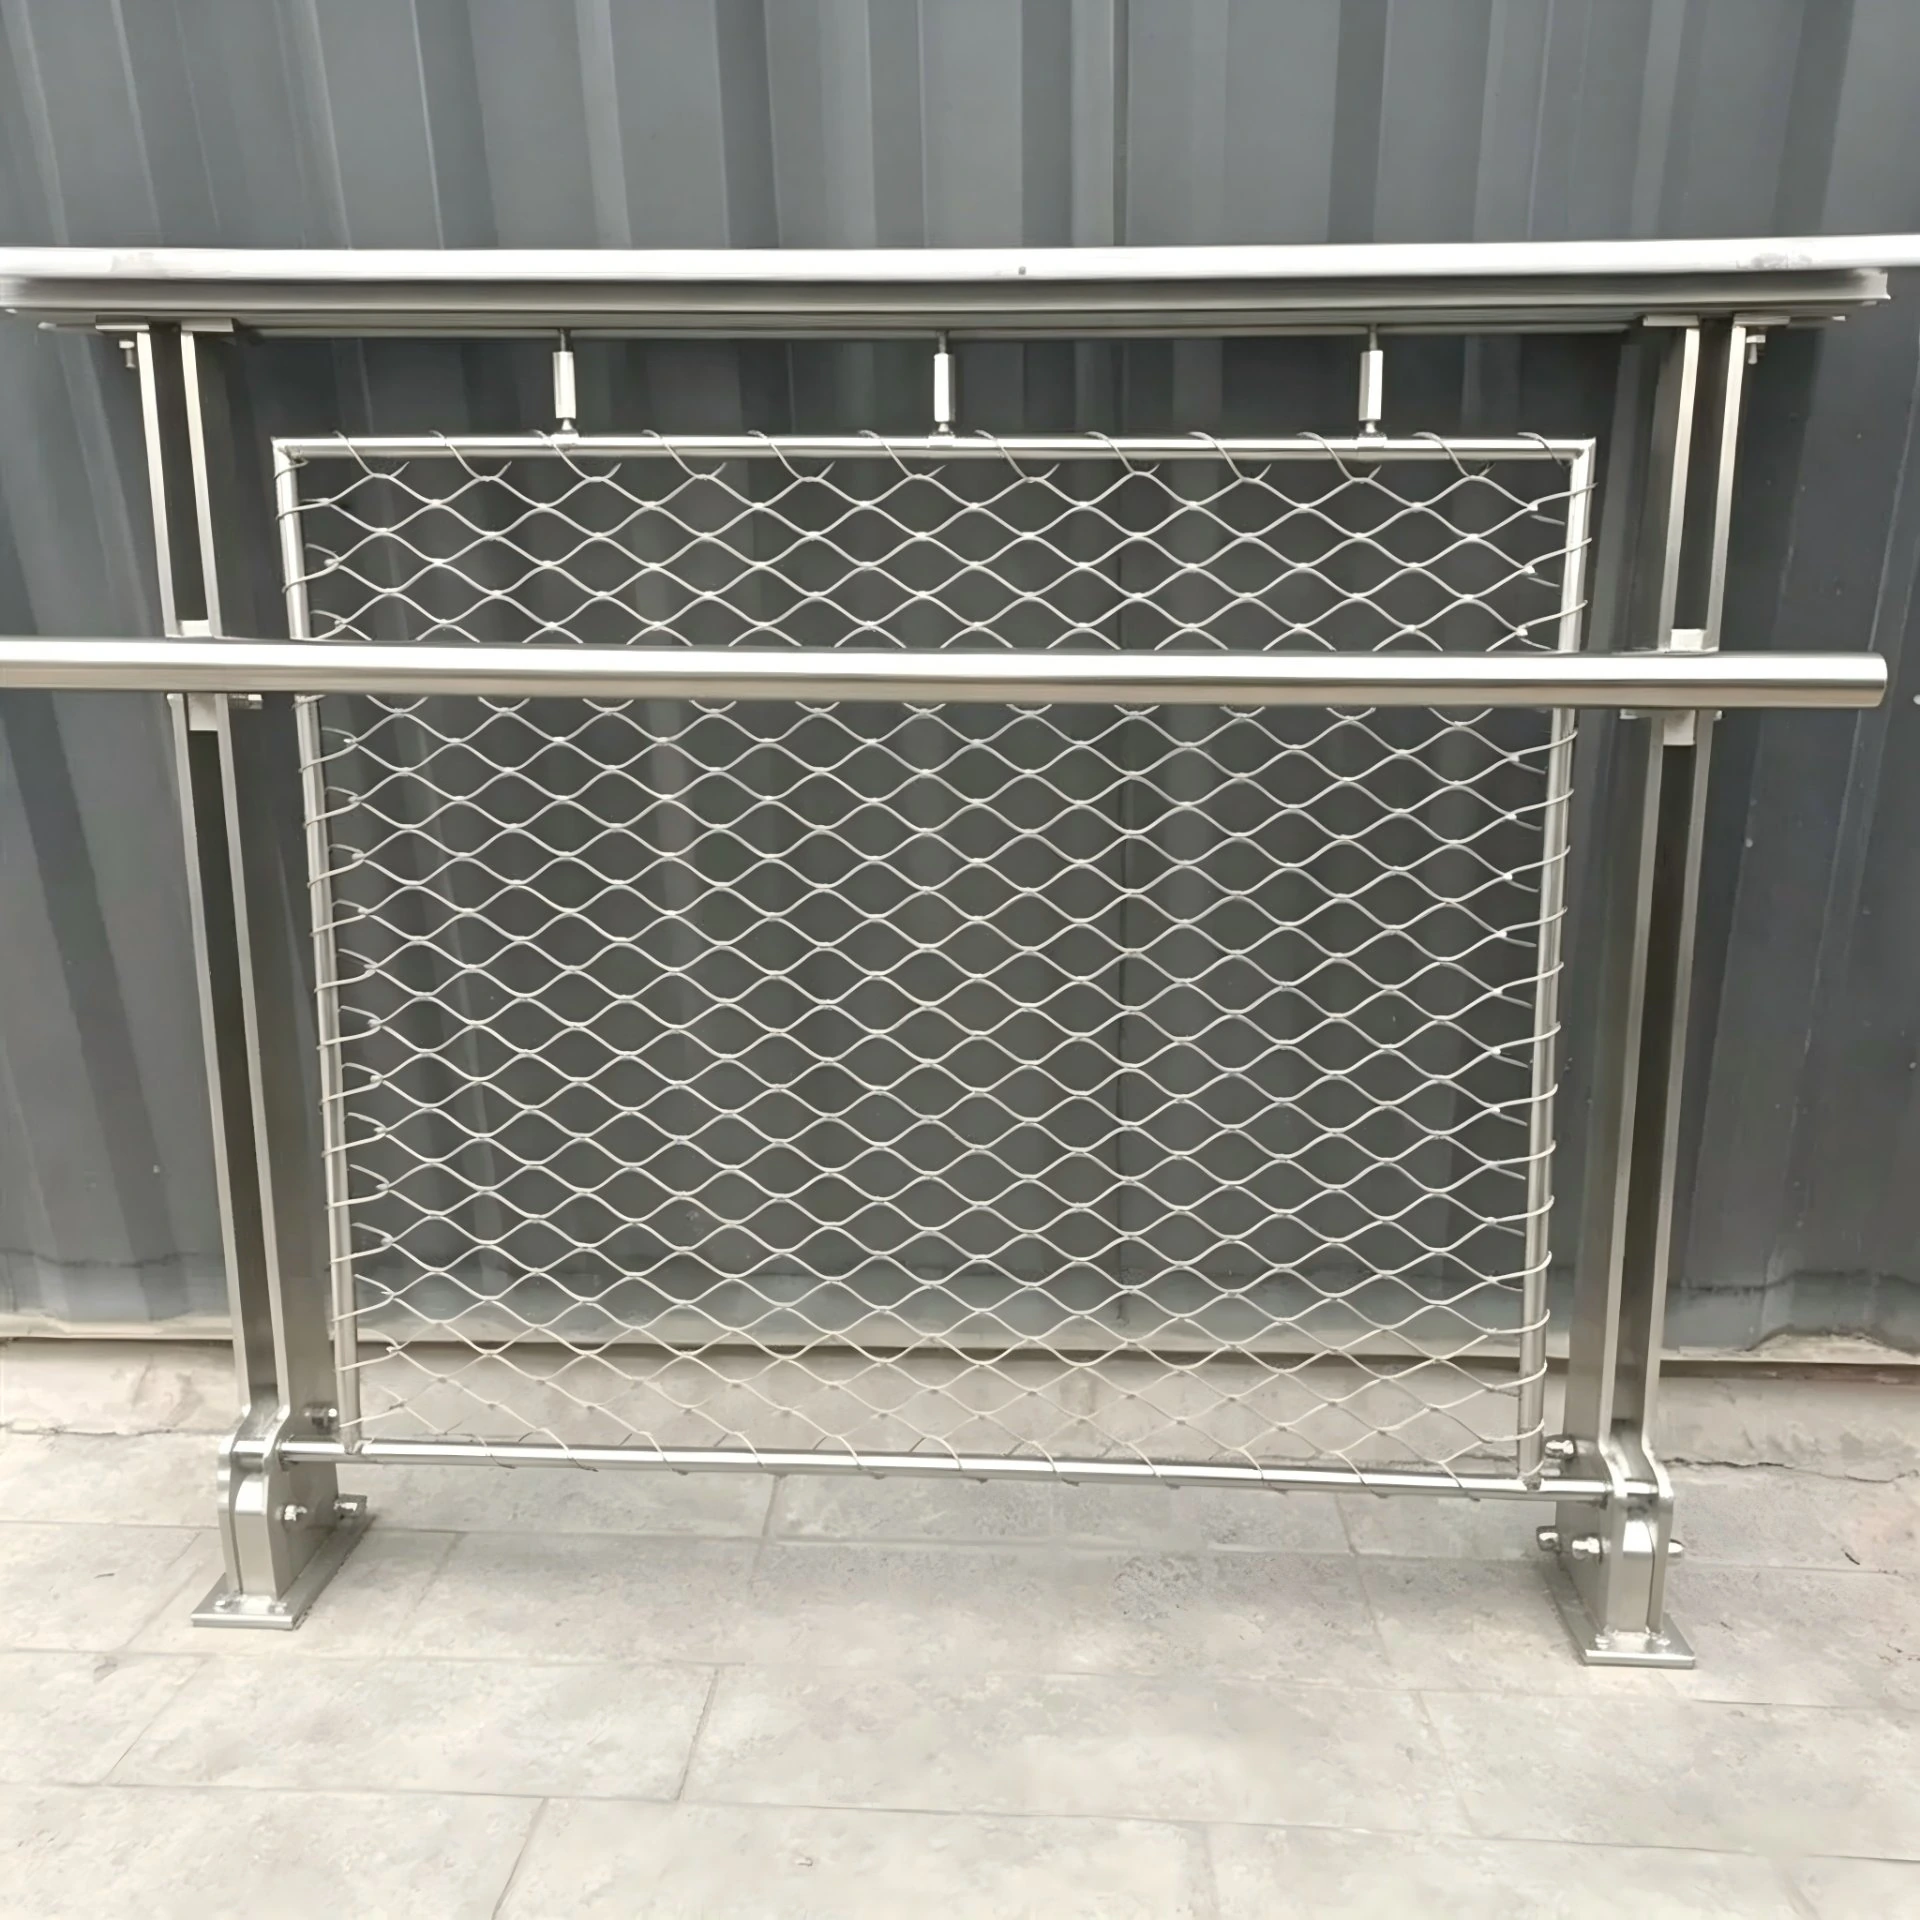
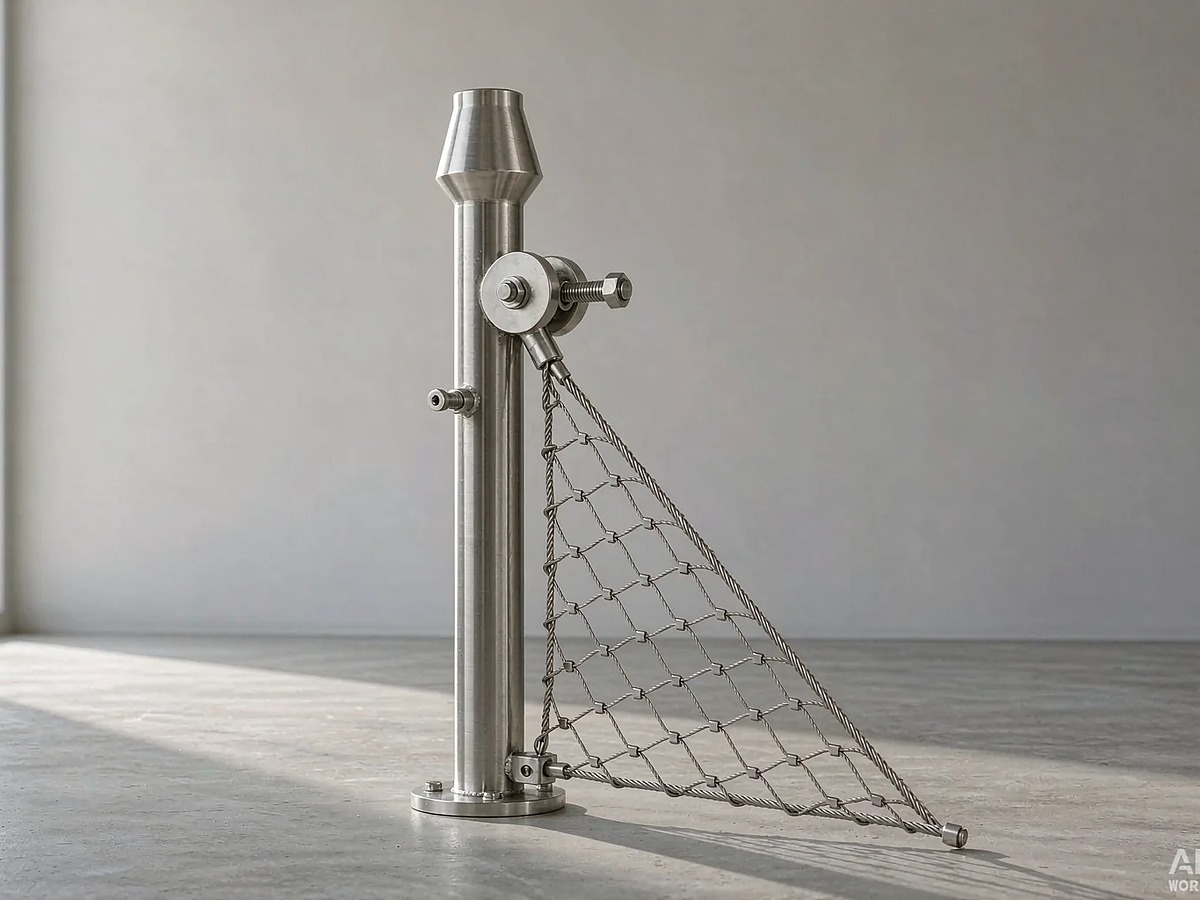
A site may need both small-opening rodent screens and a larger enclosure system. XTZ Fence supplies stainless steel cable mesh as open infill for animal enclosures, balustrades and architectural work. For framed boundary panels, its stainless steel rope mesh fence range includes the perimeter frame, posts and fixing hardware.
Specify the rodent exclusion layer separately. A cable net’s diamond openings and gaps below a fence panel must be checked against the target animal before either can be relied on for exclusion. Fine vent screens and sealed service entries remain distinct details within that site plan.
Frequently asked questions about rodent wire mesh
Will half-inch mesh keep mice out?
Do not rely on half-inch mesh where mice are the target. The CDC reports that mice can enter an opening about a quarter inch across. [1] Use an appropriately smaller clear opening and inspect the perimeter as well. The wire construction and retention still need to suit the exposure.
Can rats chew through wire mesh?
Rodent exclusion requires a suitable metal, wire size and construction. Very light screening should not be assumed to resist an aggressive rat exposure. Published guidance distinguishes heavier welded materials for some rat applications. [2] Confirm the target animal and proposed installation with the supplier or pest-management specialist, and inspect the barrier after installation.
Is chicken wire suitable for rodent exclusion?
Many chicken-wire products have openings too large for mice and lack the construction needed for the intended exclusion detail. Check the actual product rather than its name. For building entries, specify the target opening, metal and wire dimensions, then show a secure edge connection. A poultry enclosure’s containment requirement is different.
Can expanding foam alone close a rodent entry?
For suitable gaps, published guidance combines sealing with a gnaw-resistant barrier. [3][4] Choose a compatible detail for the opening, including weather exposure and any movement. Foam alone should not be treated as a complete physical exclusion specification. A fire-rated or equipment-related opening needs its own approved system.
Should mesh be fitted over every exterior vent?
Assess each vent’s purpose before modification. Passive building vents and equipment exhausts have different operating requirements. Check airflow, maintenance access and the manufacturer’s instructions, particularly for dryers and combustion equipment. Where a generic mesh would obstruct operation or conflict with the required termination, use an approved alternative.
What should I include in a rodent-mesh enquiry?
Provide the target animal, opening locations, photographs and dimensions. Specify the intended clear opening and wire construction, exposure, panel or roll quantities and retaining detail. Include ventilation or drainage requirements and any requested material records. Ask the supplier to identify deviations from the drawing before manufacturing.
Send XTZ Fence the vent or panel schedule, material requirements and perimeter detail to discuss stainless mesh supply. For an existing infestation or an equipment-related opening, resolve the exclusion plan with the relevant specialist before ordering a barrier that could interfere with the building’s operation.
References
- Centers for Disease Control and Prevention — How to Seal Up to Prevent Rodents. Entry-point inspection and the small openings accessible to mice.
- National Park Service — Rodent Exclusion Manual. Mechanical exclusion materials and construction details, including screening materials on printed pages 45–46.
- U.S. Department of Energy, Building America Solution Center — Reduce Pest Intrusion. Penetration sealing and ventilation considerations.
- University of Nebraska–Lincoln Extension — Rodent-Proof Construction: Structural. Barrier materials, surveying and integrated exclusion planning.
- Cornell Integrated Pest Management — Pest Exclusion. Animal-entry assessment and exclusion material guidance.